Continuous Deployment with Cloud Run and Cloud Build
Google Cloud recently launched Cloud Run at their Next 19 conference. It is a service where you provide it a Docker image and it then runs it, autoscaled up and down and you only pay for what you use, a really simple service that builds on top of many years of work from Google and others, something we can now take advance of!
In this example, I want to show how you can combine Cloud Build and Cloud Run, so that whenever you make a small change to your app, it deploys it automatically. Each service is super simple in its interface but to combine them takes a few extra steps.
Typically cloud provider, they try to provide building blocks that you can build and stack however you like, but they do sometimes allow you to combine them across. The reason why they try to not combine services is that it often introduces tight couples that make the product slower to advance whenever customers first start to depend on them. So this article will maybe be irrelevant in the future but for now, you have to do these things yourself!
You will need a Google Cloud account, you can get started for free entirely but you will need to put in a credit card because they limit abuse.
- Create a small example app
- Setting up Continuous Integration with Cloud Build
- Deploying and running on Cloud Run
- Deploy a new version manually
- Deploying automatically with Cloud Build
- Conclusion - a what to do next
Create a small example app
Let us create a small app first that we will use. Let us create a small node.js server. If you already know how to do this you can skip to the next section here: Setting up Continuous Integration with Cloud Build
Creating a small node.js server
// server.js
const http = require('http')
const PORT = process.env.PORT || 9000
http
  .createServer((req, res) => {
    console.log('New connection')
    res.end('Hello Cloud Run')
  })
  .listen(PORT, () => console.log('Listening on', PORT))
You can install node.js here: https://nodejs.org
From the command line we can test that it runs:
$ node server.js
and open up your browser on http://localhost:9000 (Protip: or use a tool like httpie and run $ http :9000 in a new terminal window)
Creating a docker image
When we have the small server working we can add a Dockerfile that describes how a Docker image can be created from our sourcecode. It is a small recipe to build steps, in our case it will be rather short.
# Always good to specific so that it doesn't later break
FROM node:12.4
# This folder will all commands be run in, like the HOME folder
WORKDIR /app
# Add our sourcecode
ADD . /app
# The command to start our container
CMD node server.js
You can find all the Dockerfile commands here.
With that, we can run
# the name "myapp" is something you can choose
$ docker build -t myapp .
and test it by running
$ docker run -it myapp -p 9000:9000 myapp
and test it again in the browser or in your terminal.
Push it to Github
For this last step in creating our app, we need to push it to Github. In theory, you can host it anywhere, but this tutorial will focus on Github.
You can navigate to https://github.com and create a new repository and follow the instructions to on how to create a new git repository.
Protip: Use the tool hub from github to do it all from the command line. http://hub.github.com/
Setting up Continuous Integration with Cloud Build
The first step to Continuous Deployment is to have Continuous Integration configured (CI for short). Cloud Build is a service that runs on demand and executes a series of commands. You value is that you can easily configure it through the website and connect it with Github to setup webhook so that each time to commit Cloud Build will get notified. It is also really priced efficient as you only pay per minute the builds are running, which is something really hard to build yourself.
With the code on Github, you go to Google Cloud and logs in. https://console.cloud.google.com
Creating a new project
It is a good idea to create a new Project on Google Cloud, as it makes it easy to test and teardown afterward, and also for new projects to separate them from others.
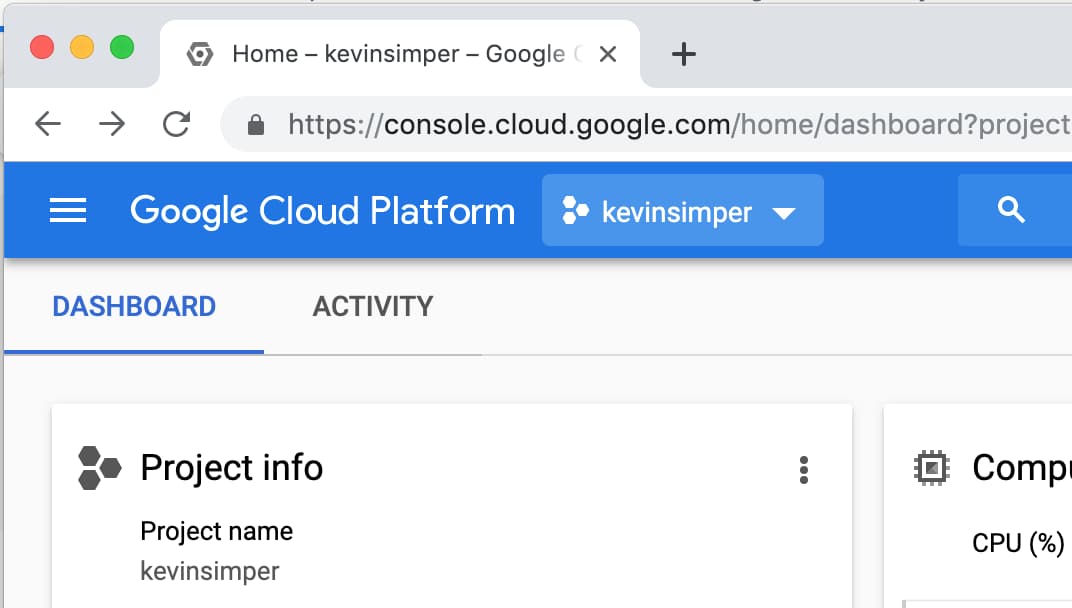
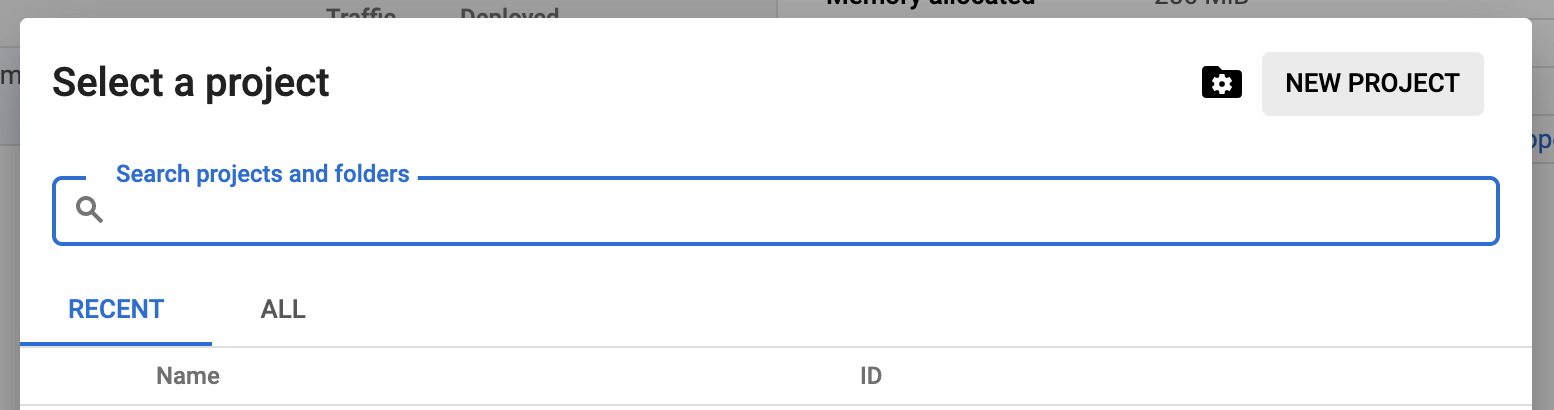
You can click the button next to the Google Cloud Platform logo and then click "Create Project".
Then click the button to the right:
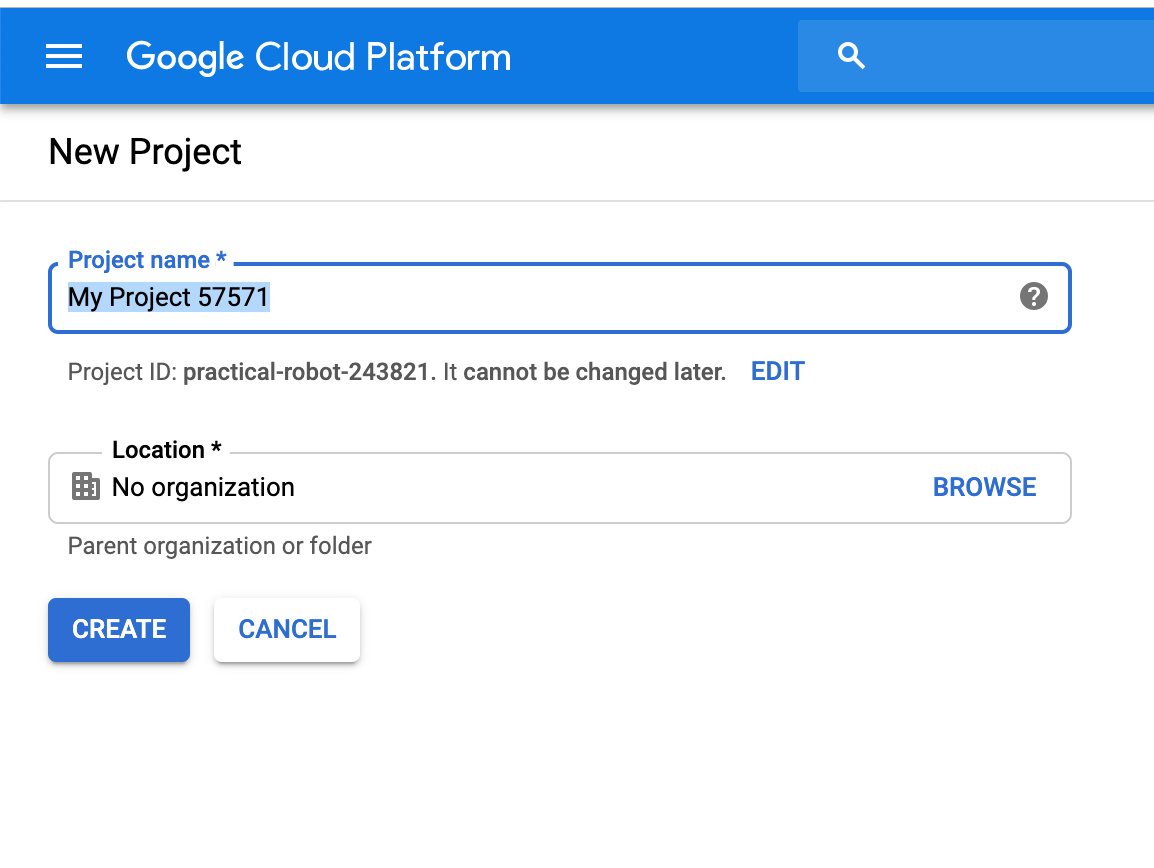
It will suggest a name but you can choose your own:
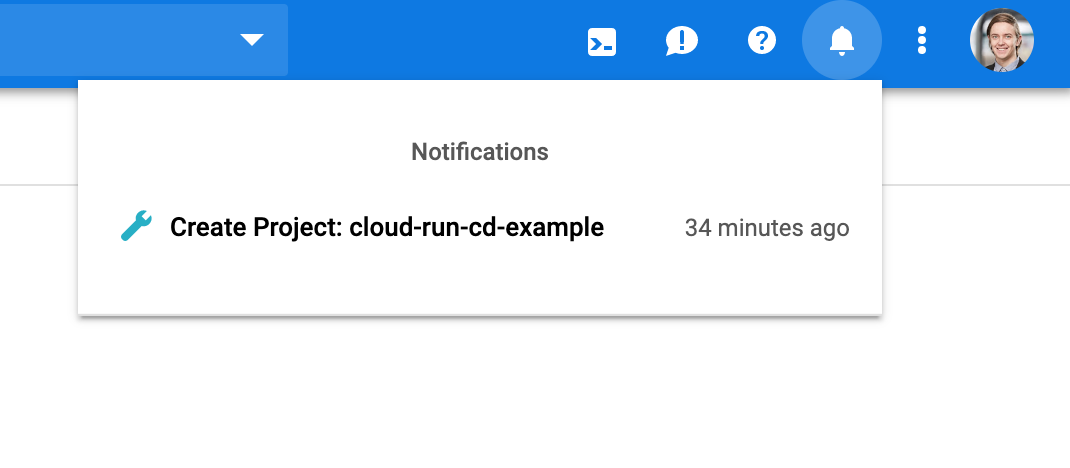
After that, it will take 30 seconds to create and you can watch the status by clicking the bell:
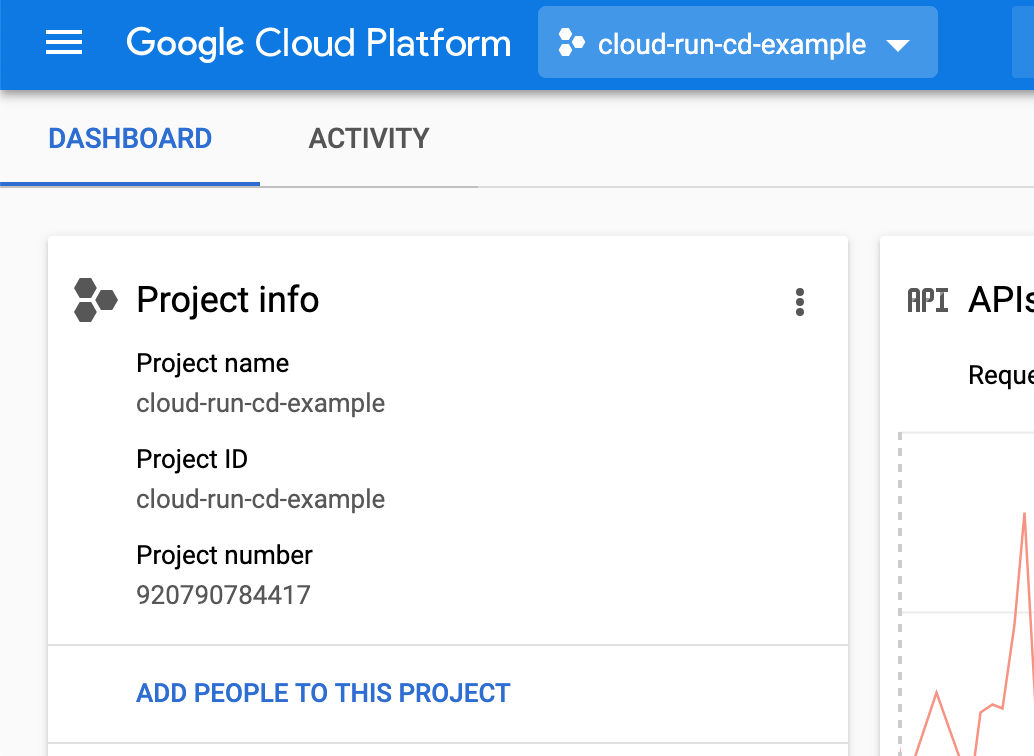
You will be redirected to the new Project and you can see the Project Info:
Setting up Cloud Build
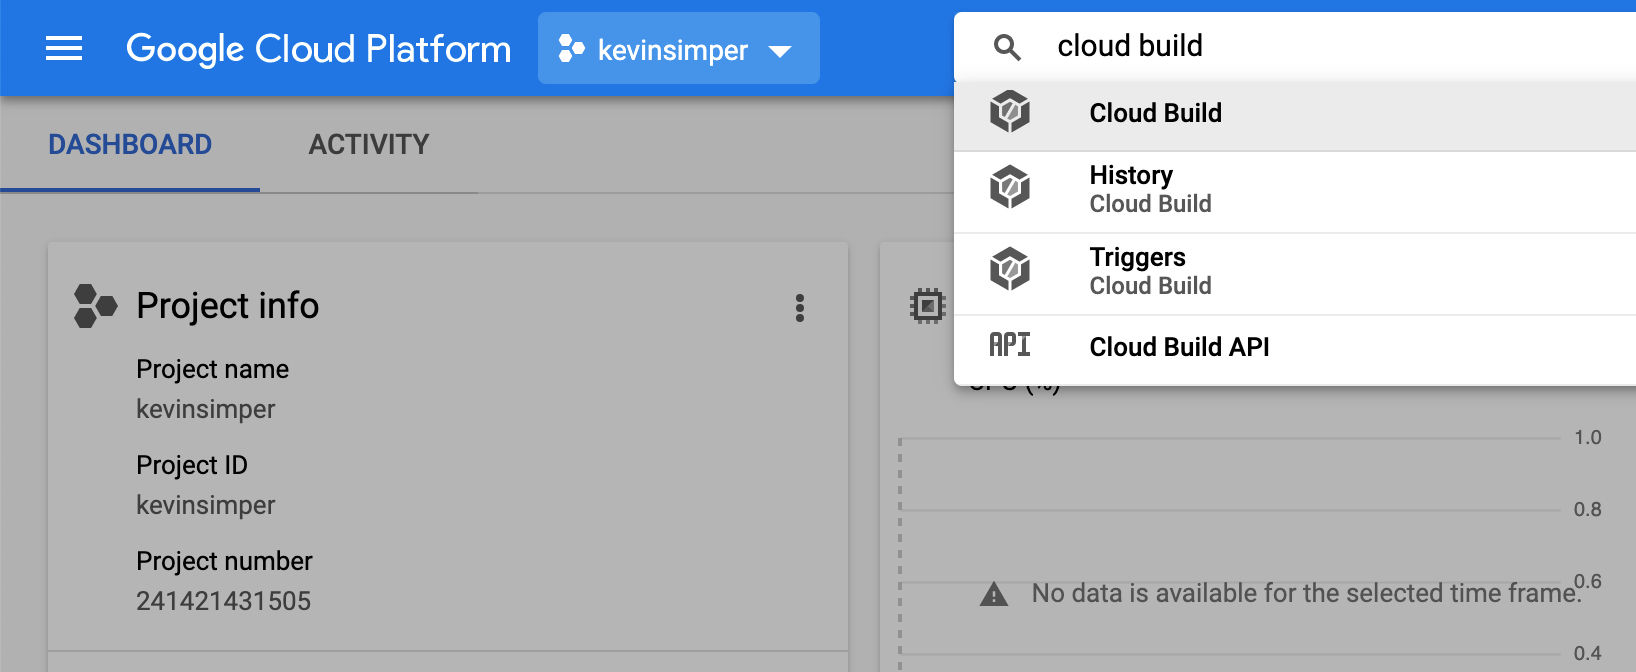
Then we can setup Cloud Build, navigate to Cloud Build either through the Sidebar or the search field.
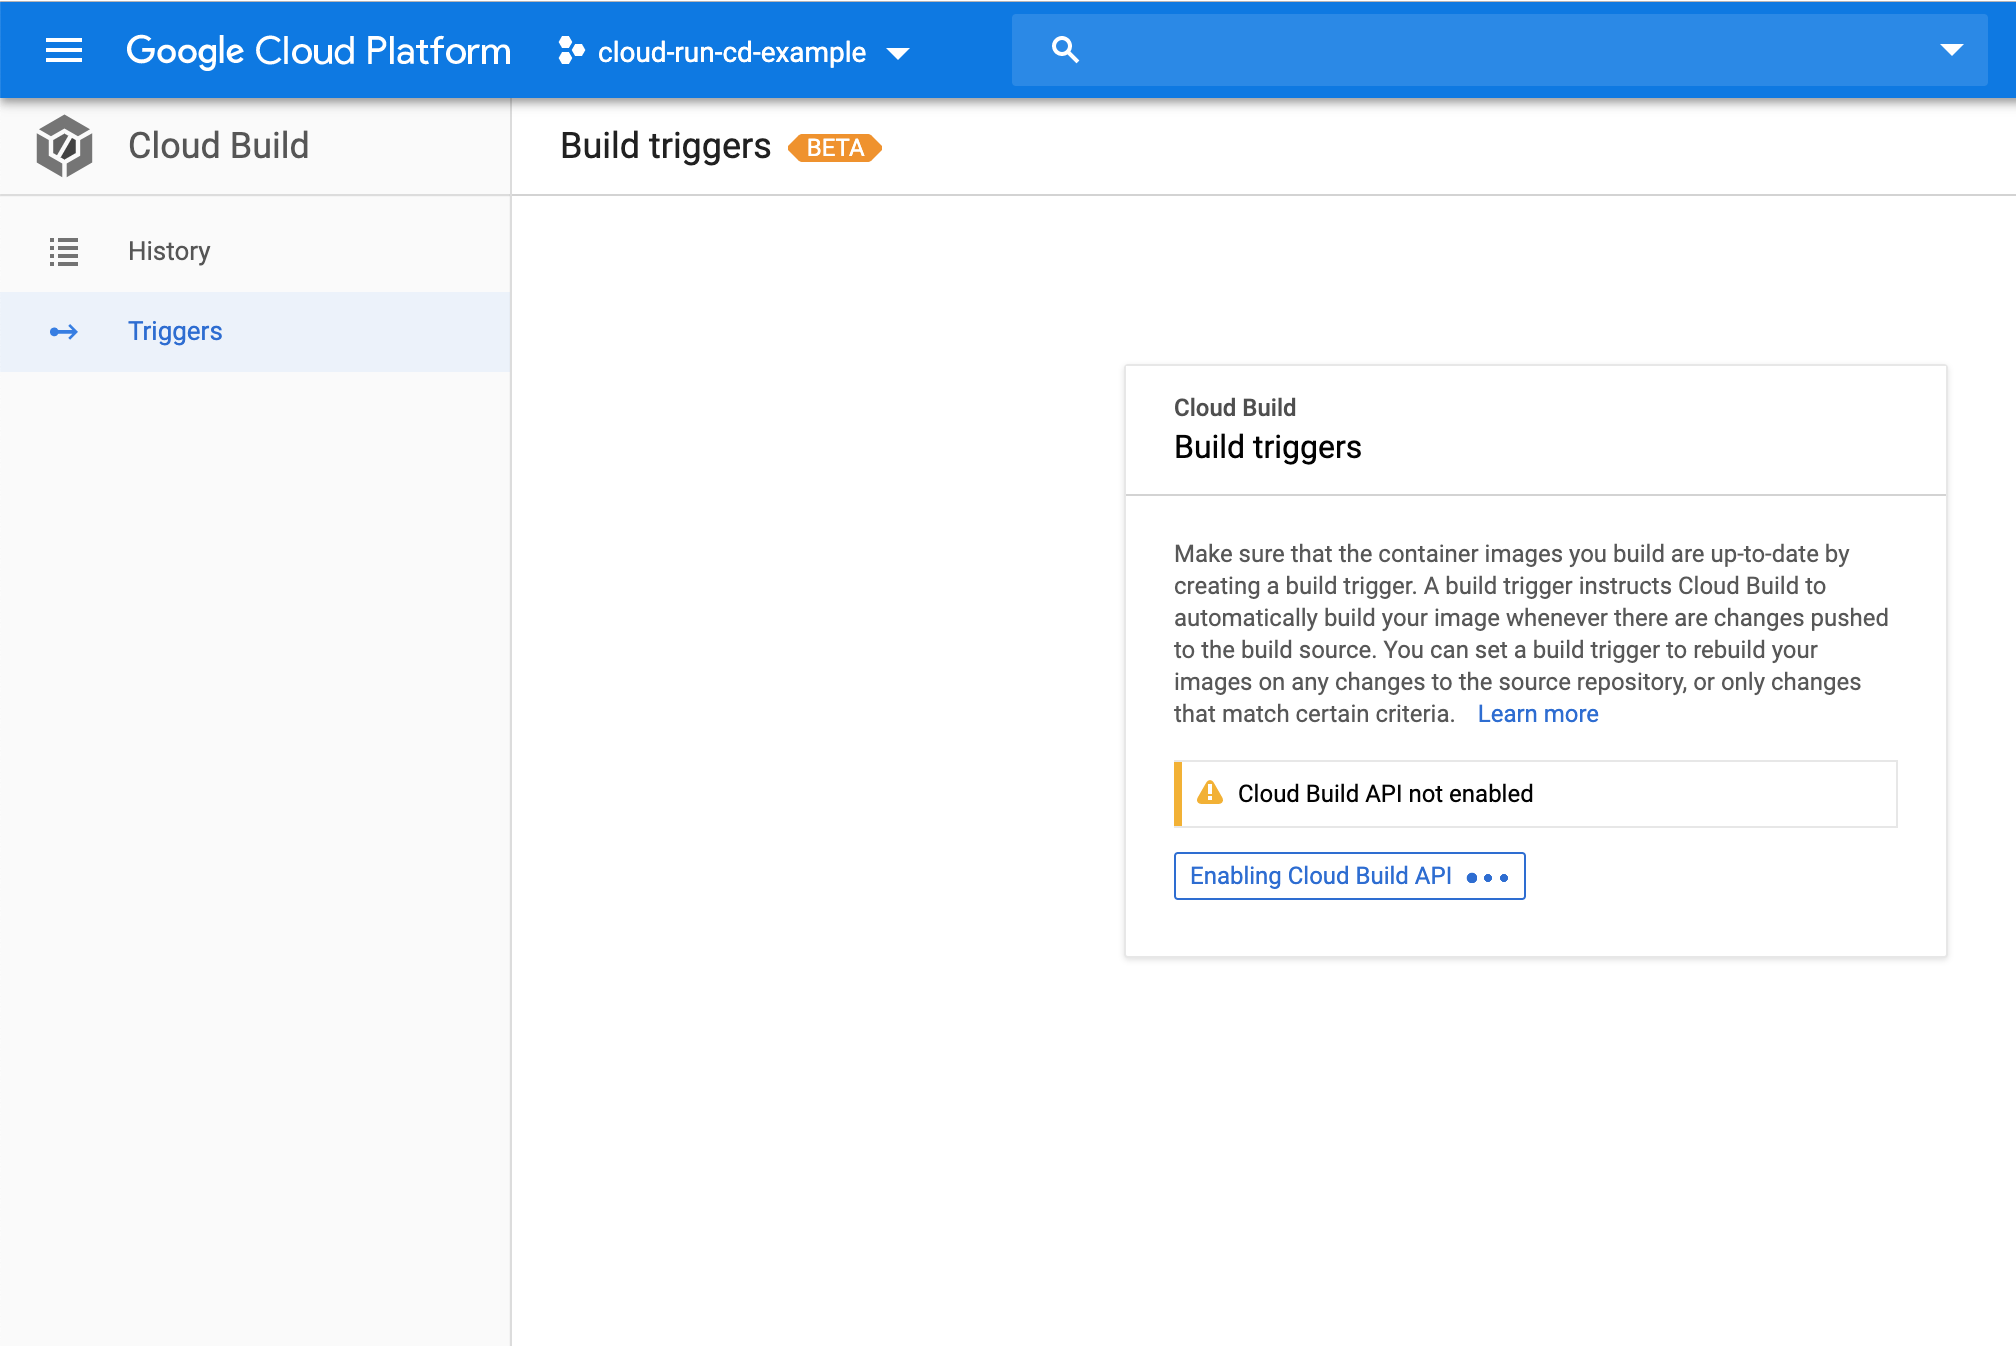
Here you have to first activate the API, go ahead click "Activate":
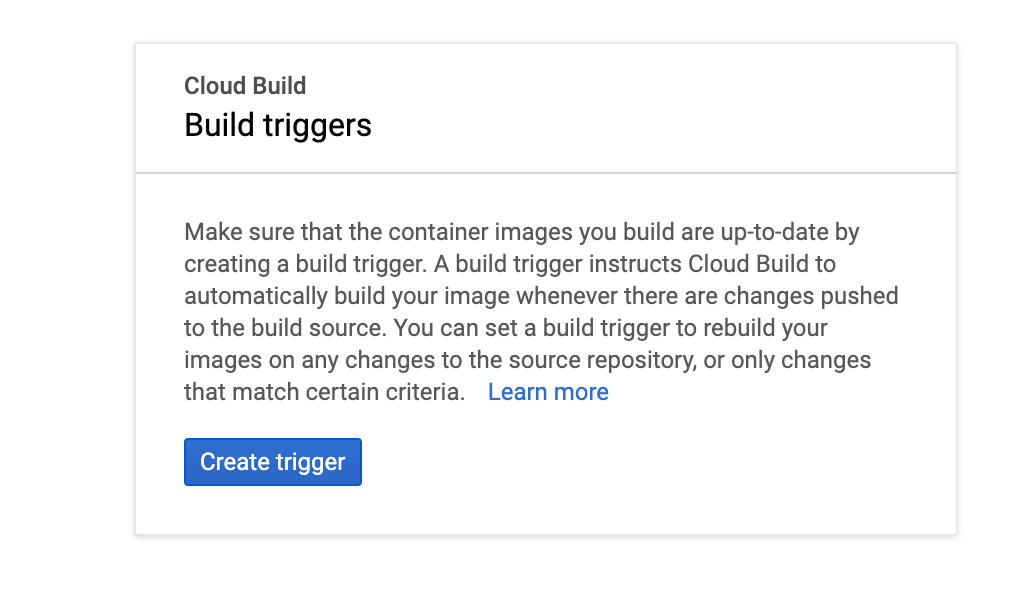
When it has activated, click Create Trigger
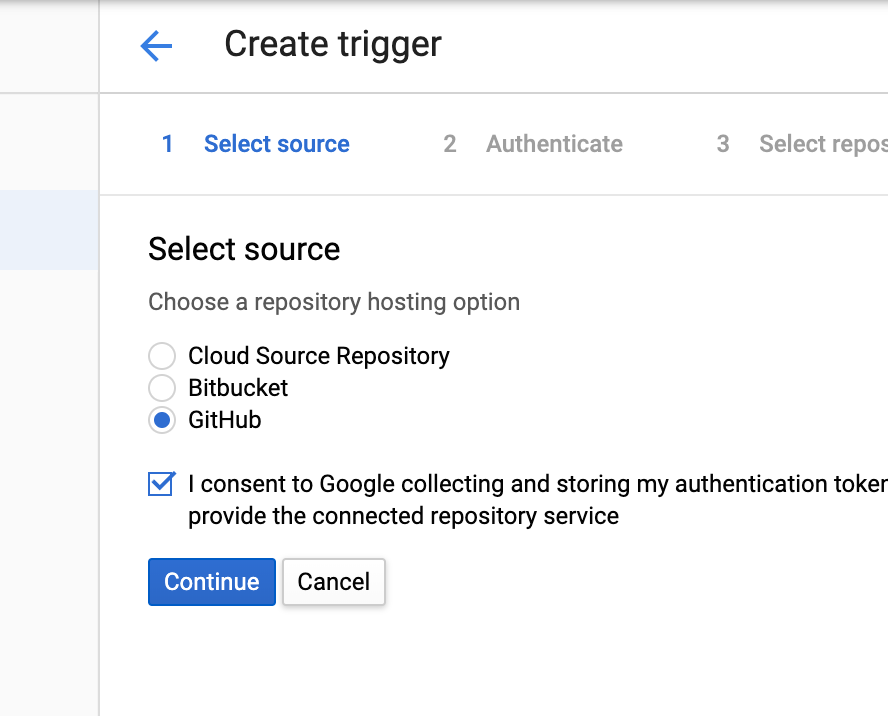
Select Github as that is where we have hosted our app and click continue.
This will prompt you to Authorize Google Cloud to have access to your Github Repositories:
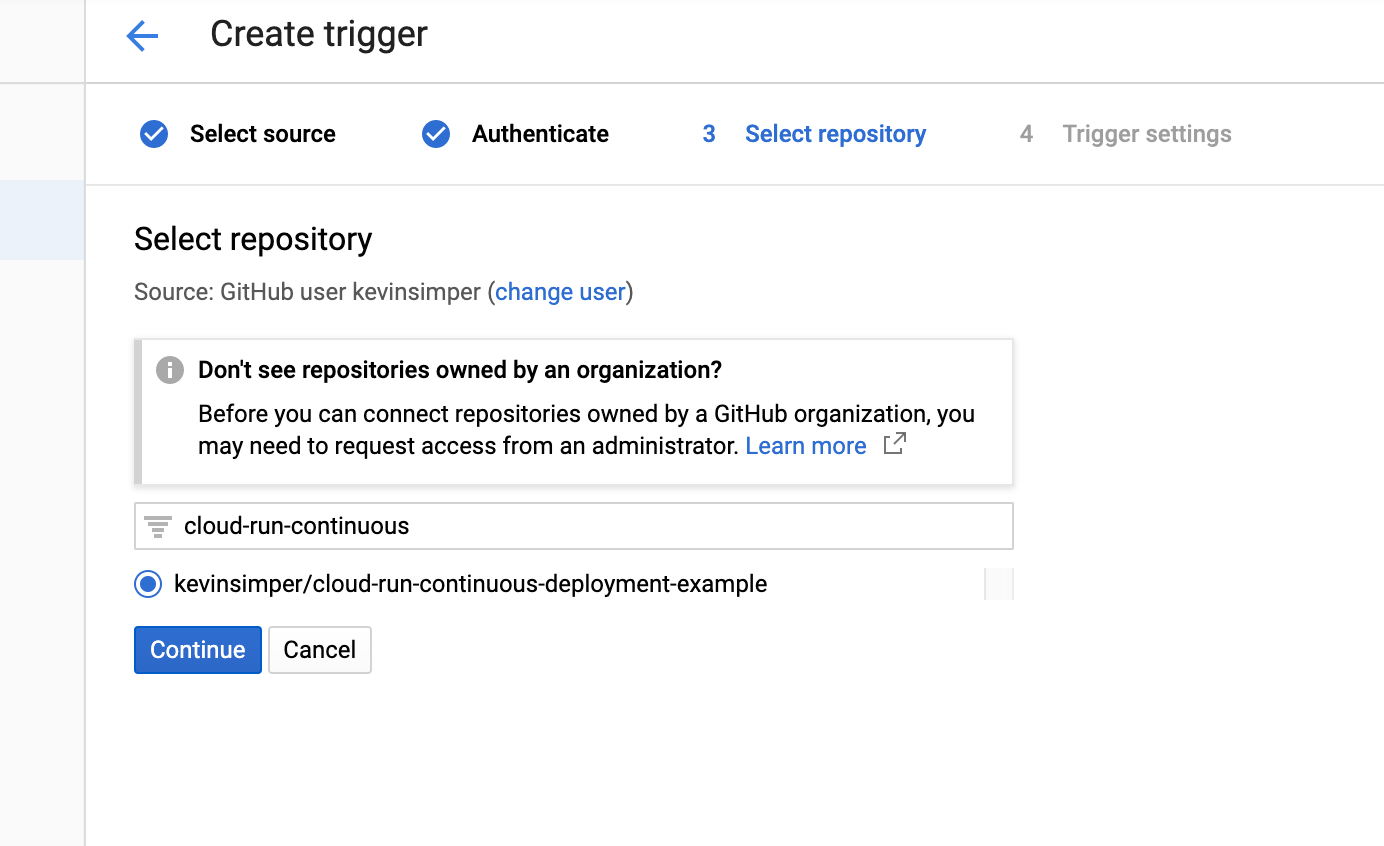
After you authorized the app, you will be able to see all your repositories, search and find the GitHub repo created:
The last and 4th step provides a really long form. Most of the fields are related to when it should trigger a build and by default, it will trigger on every commit on every branch.
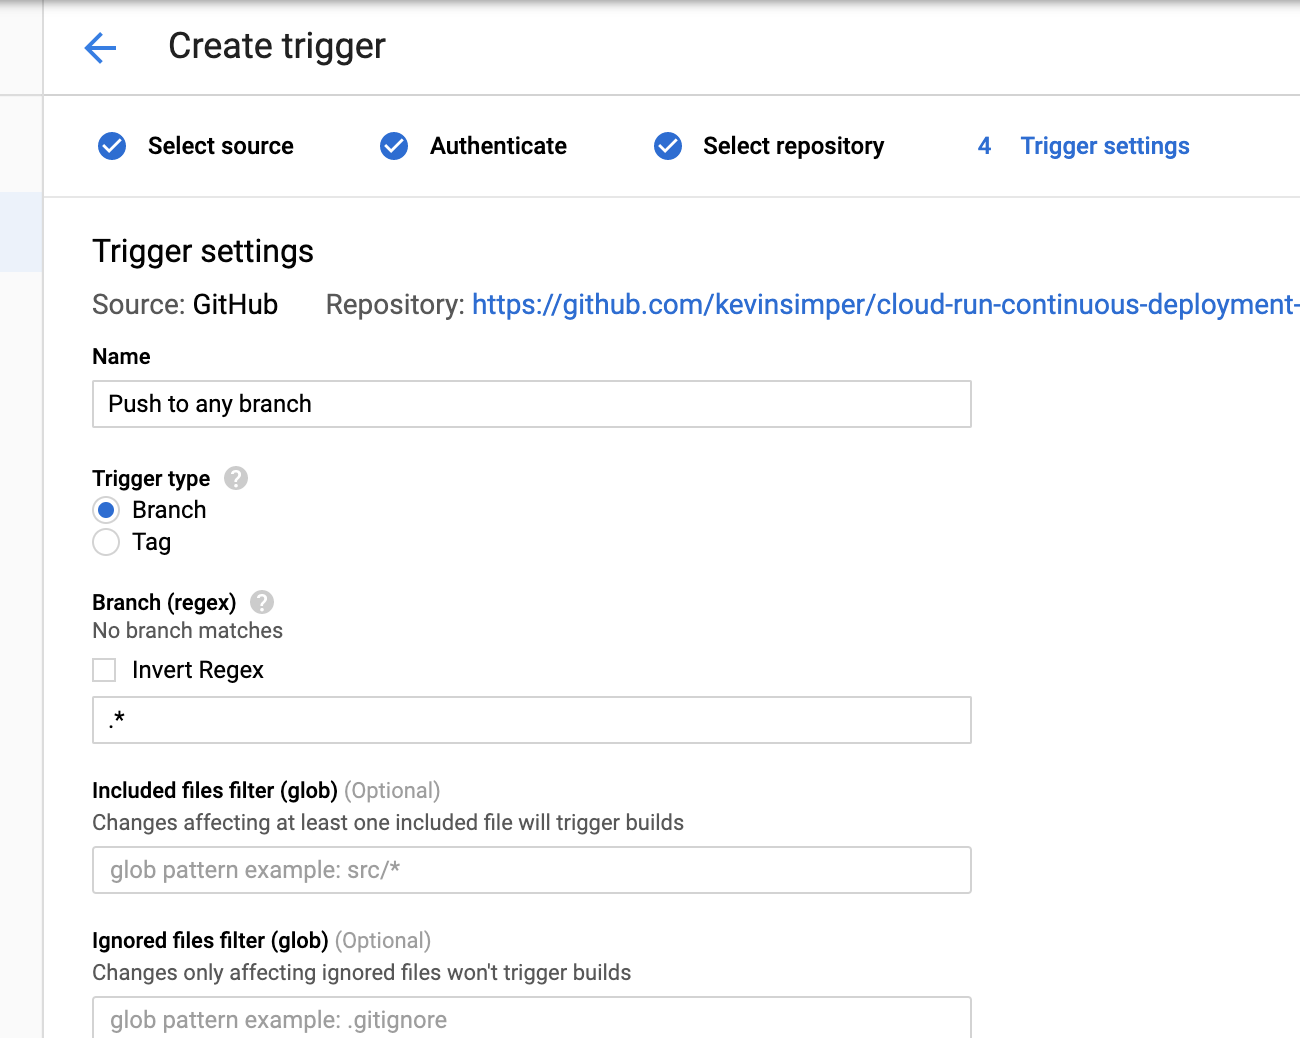
You want to look at the last part of the form related to "Build configuration":
Here it will by default build a Dockerfile that it expects to find in the root.
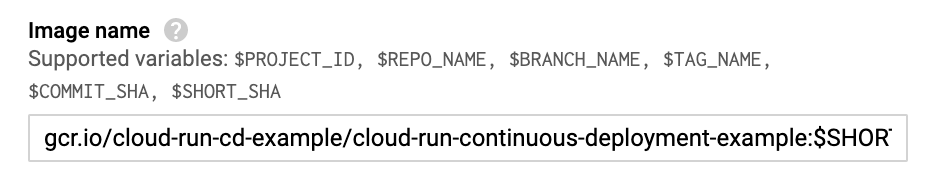
It even showcases what command it will execute with Docker. There is only 1 field I normally change, that is the Image name, I think it is too long by default, so I change it to this pattern gcr.io/PROJECT NAME HERE/GITHUB REPO NAME:$SHORT_SHA.
The Project name is required and can't be changed, only after the second slash.

So I change this field to not include "github" and so forth and click Create Trigger.
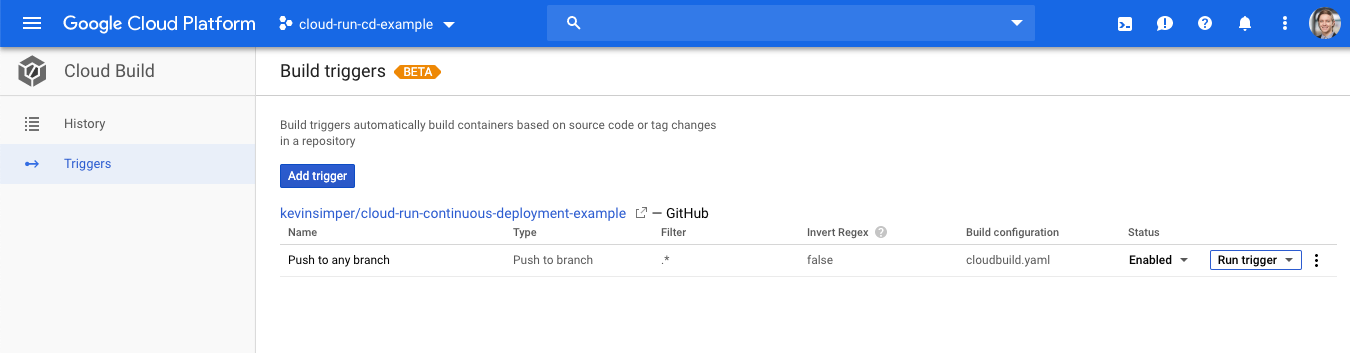
You have now created your first trigger, awesome!
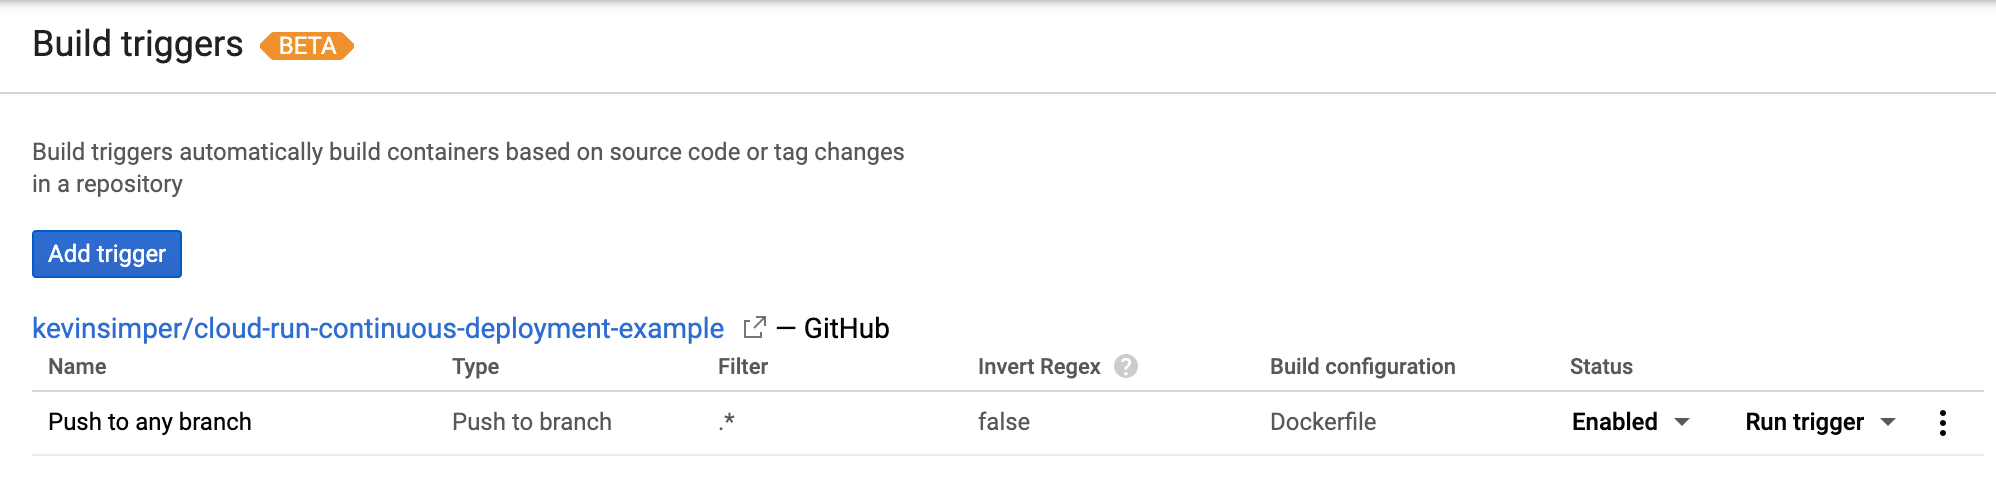
You can try it out by click "Run Trigger" and then selecting the branch, we only have "master" for now, click that.
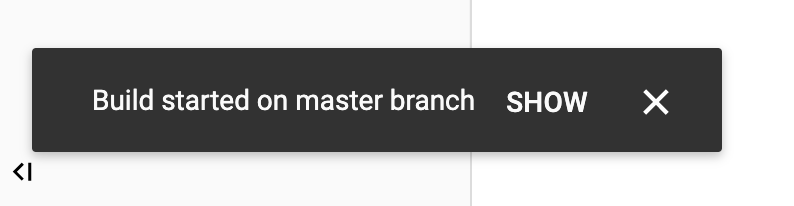
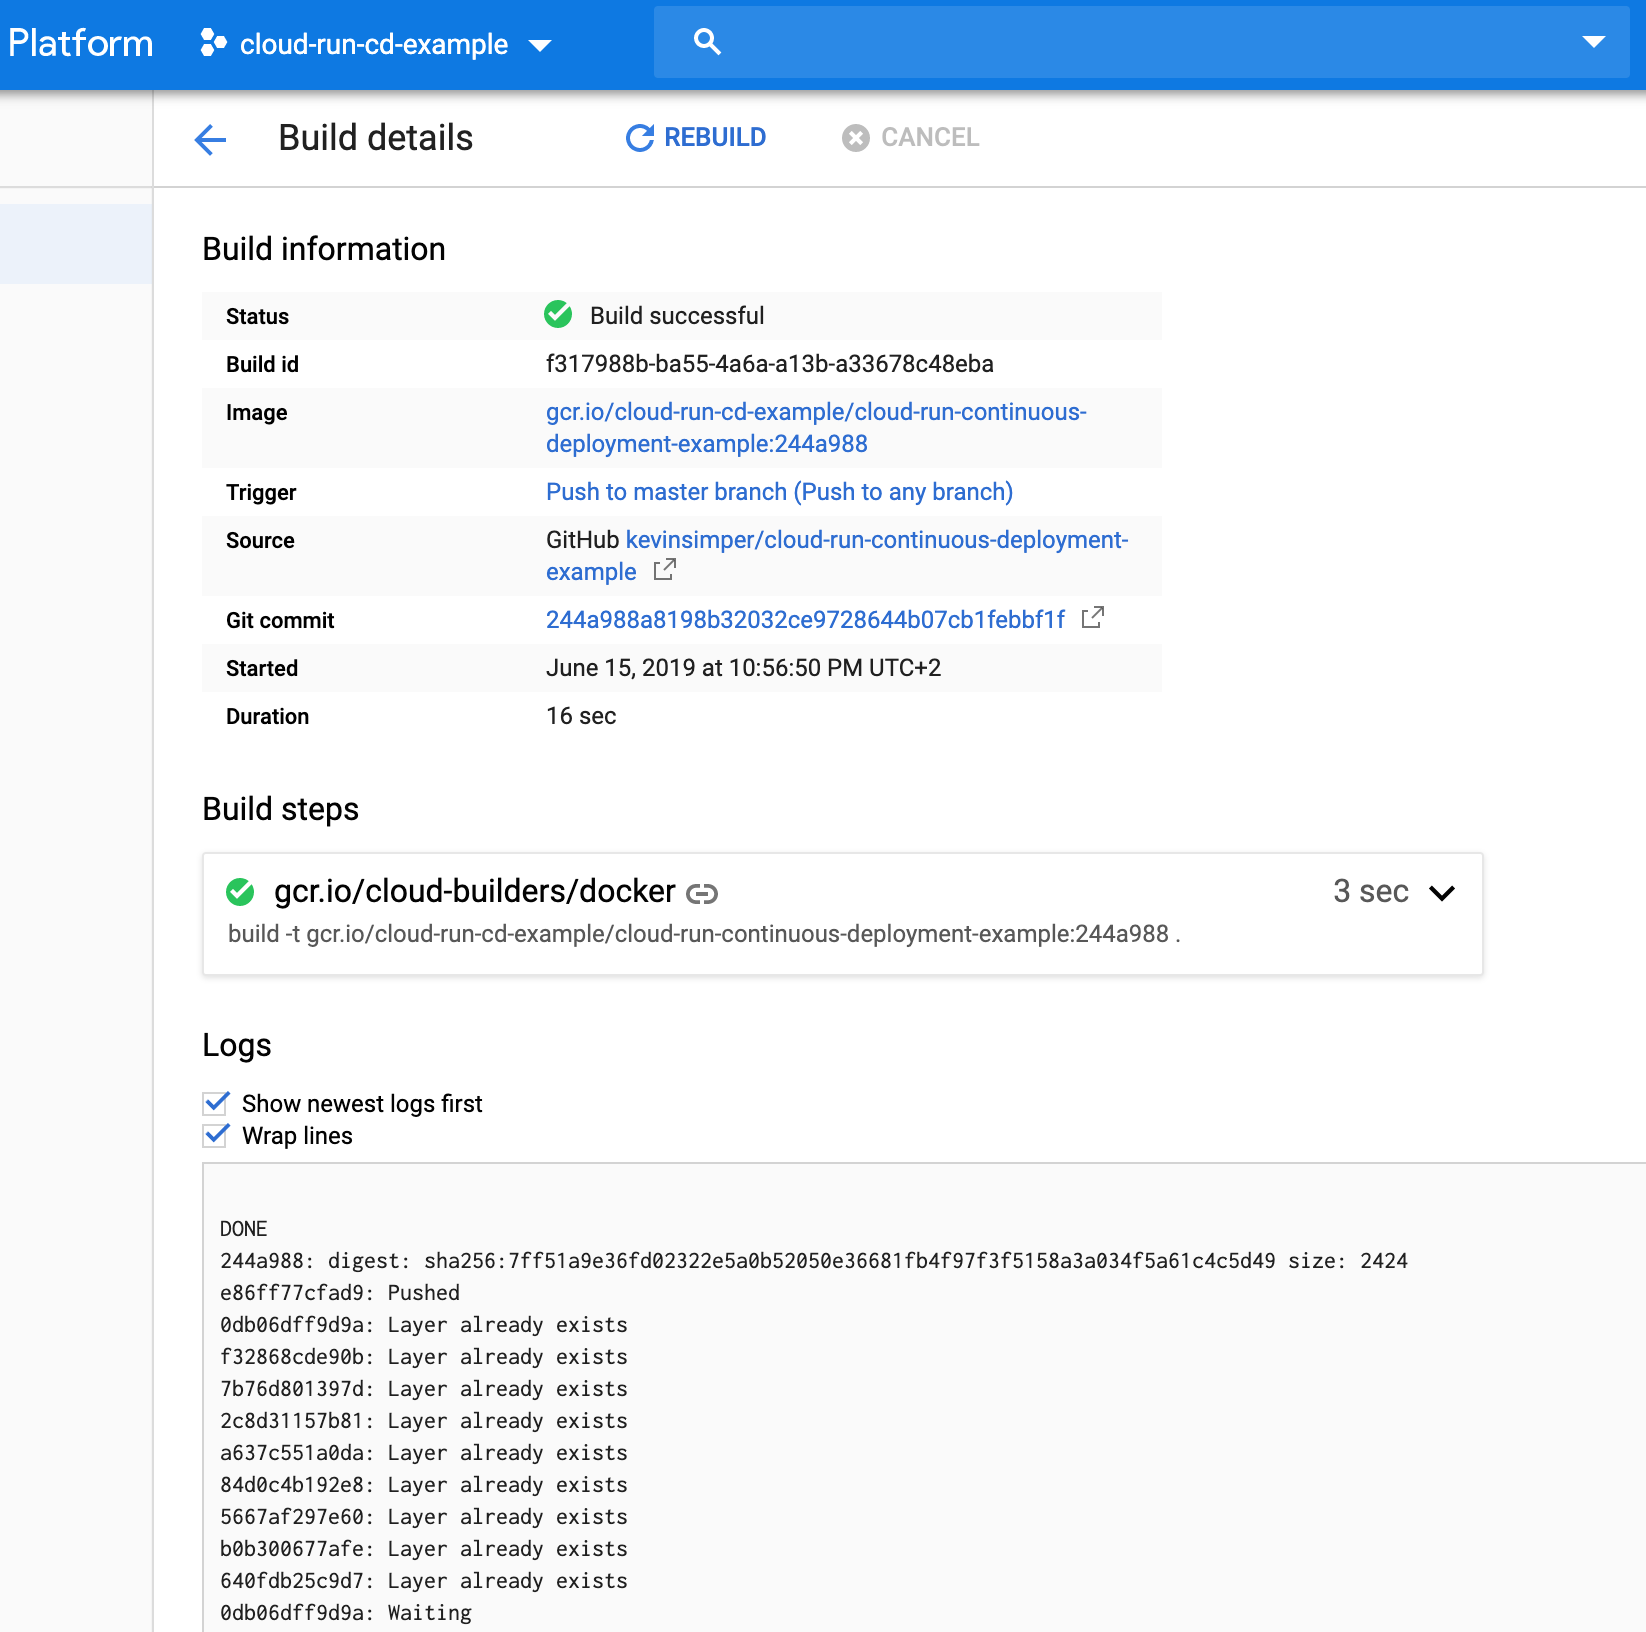
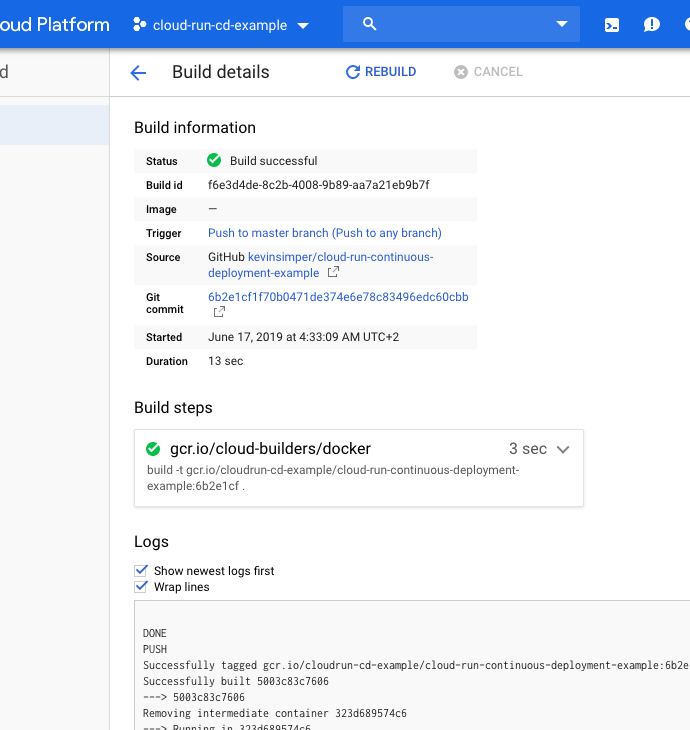
You can then watch the build logs and see the Docker image being built with the steps in it.
When it is done it has pushed a Docker image to GCR (Google Cloud Registry)
Pushing gcr.io/cloud-run-cd-example/cloud-run-continuous-deployment-example:244a988
Congratulation, now every time you make a commit on your github.com repo you will trigger a new Cloud Build that will push an image to GCR.
Deploying and running on Cloud Run
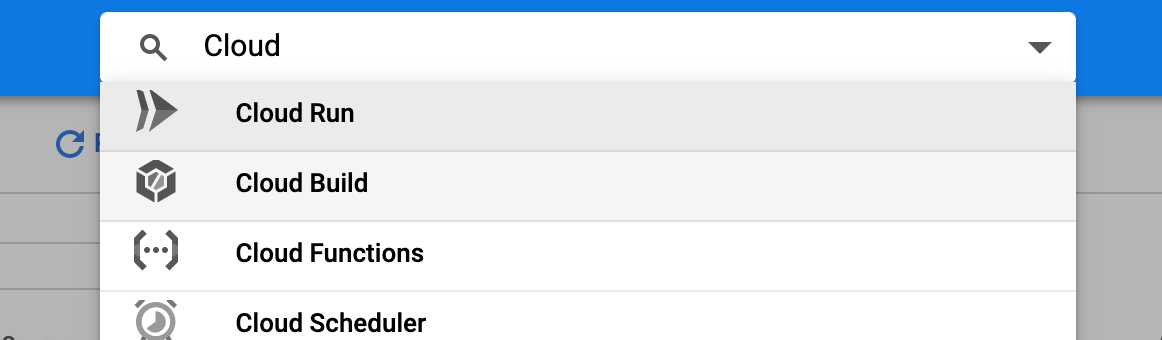
With a Docker image ready, let us set up Cloud Run. Let us search for it in the search bar (Protip: Use "/" to go directly to the search bar from the keyboard).
We have to also activate this API the first time we use it:
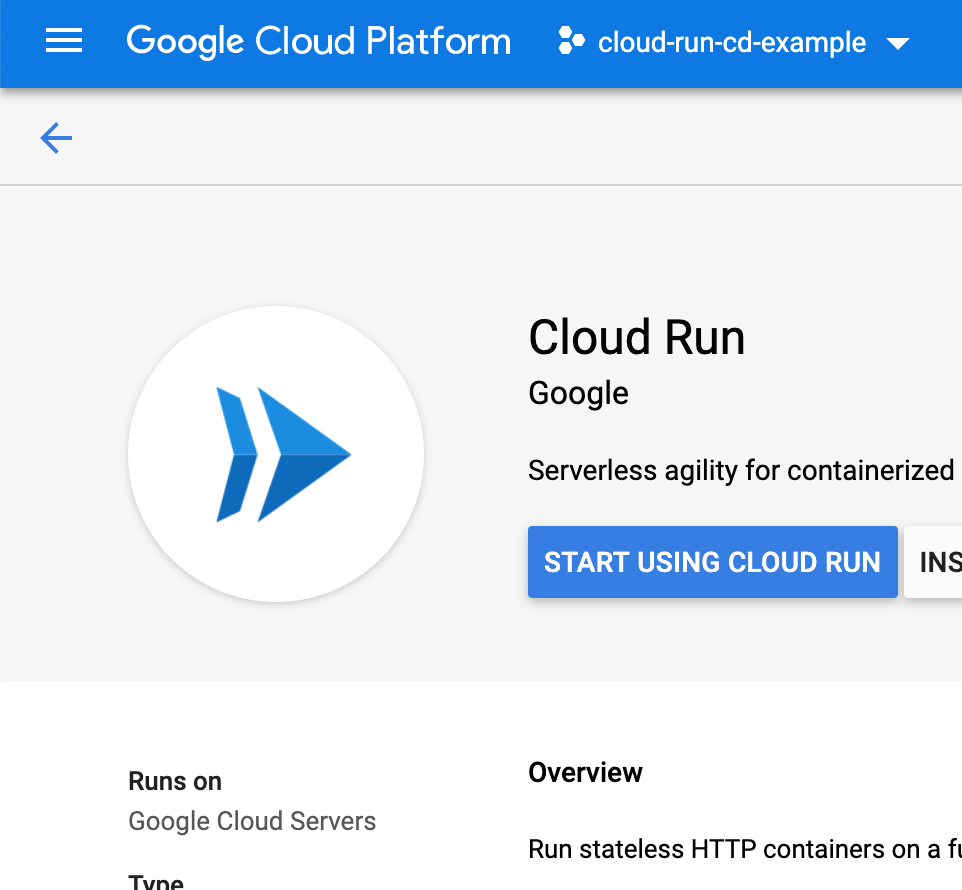
When it has been enabled, we can click "Create Service"
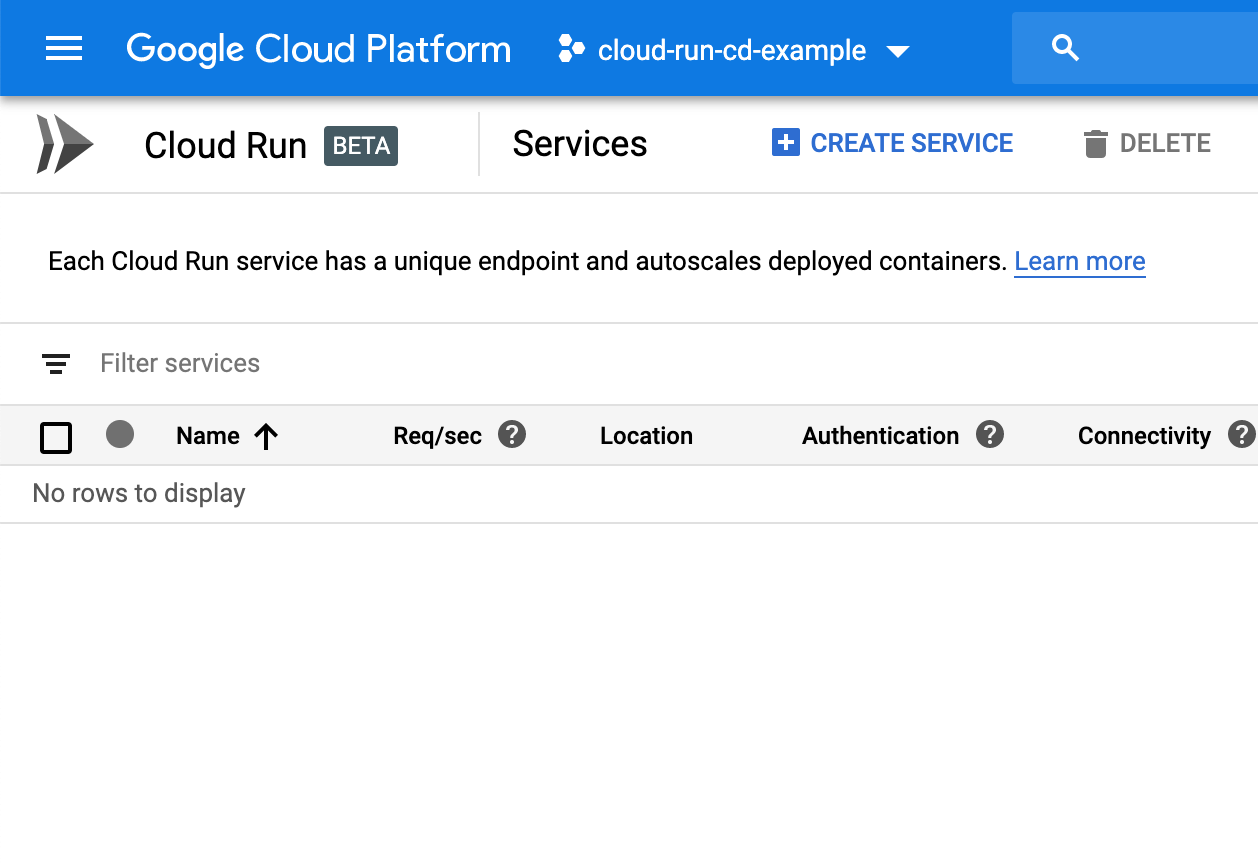
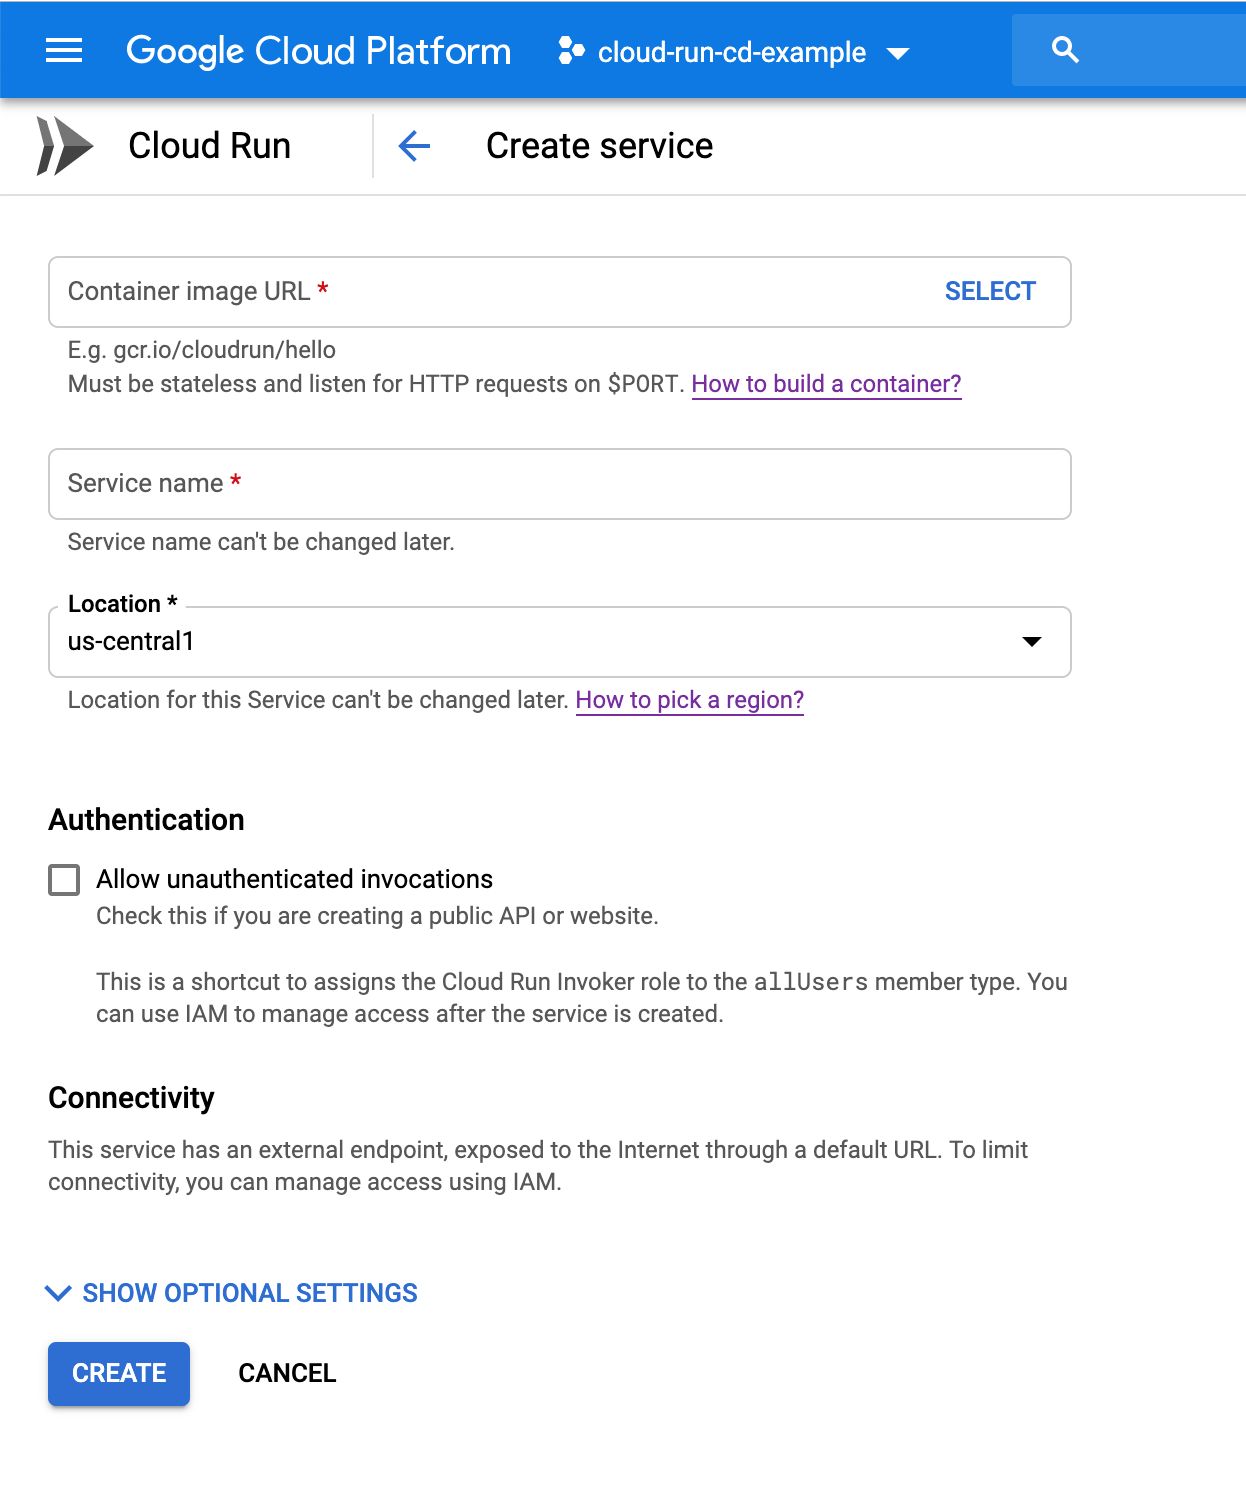
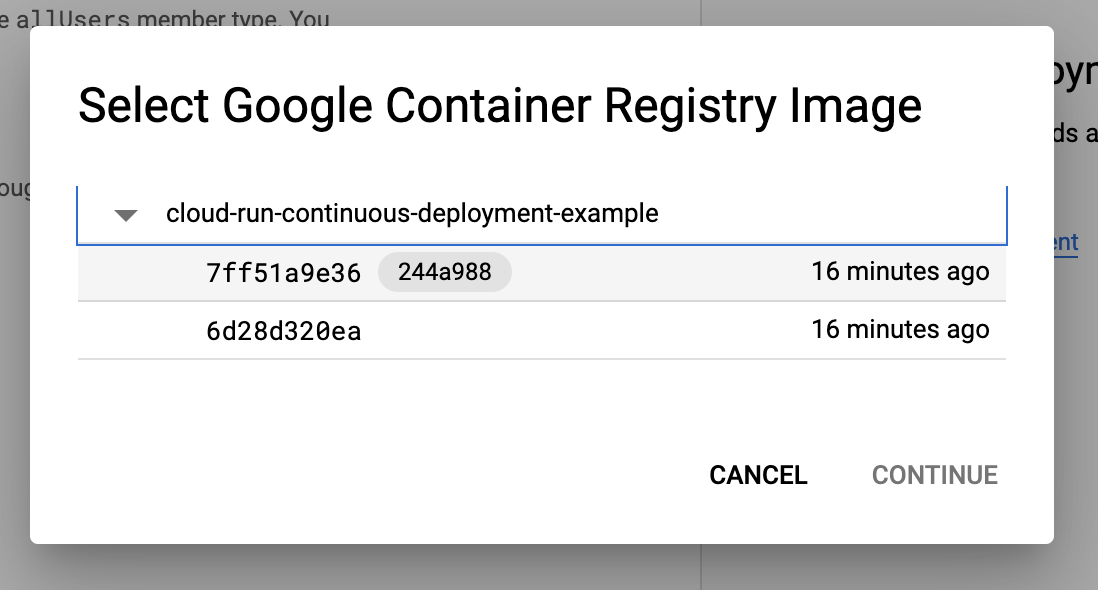
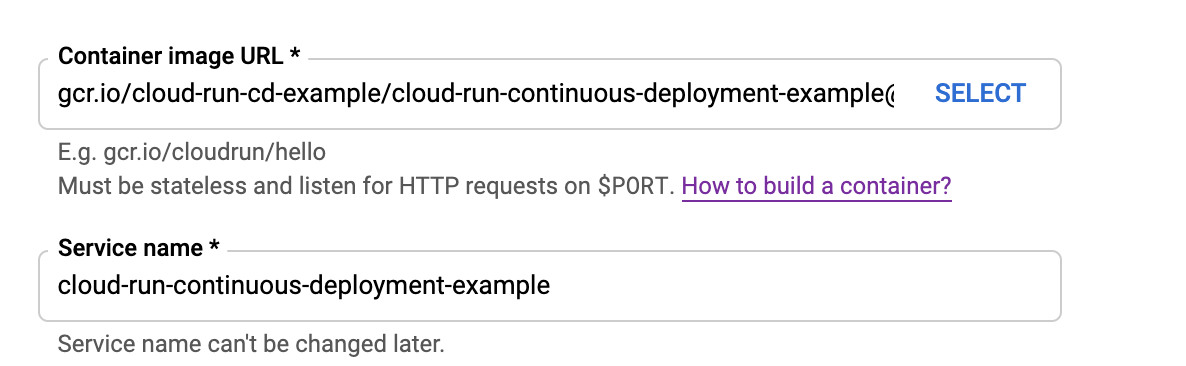
Here we first have to select our image from Container Registry, the one we built on Cloud Build. We do that by clicking "SELECT".
You can click the small arrow to select the specific sha, you can see here that I have to different images already. One can have many versions of a Docker image.
After that, it will automatically suggest a name:
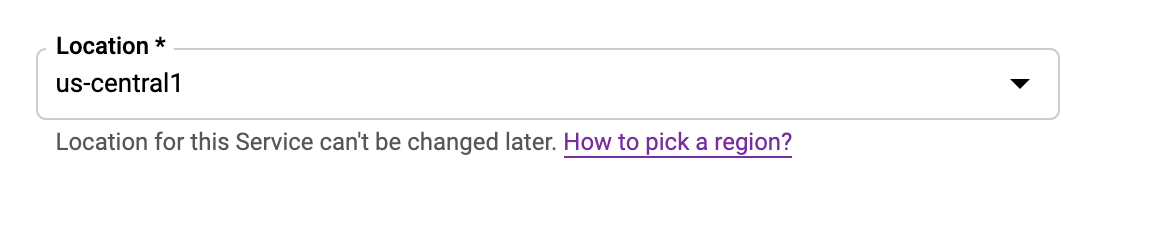
We will choose us-central-1 as that is the only region we can choose for now, but I would guess that there would be many more in the future.
We will tick this box to allow visits from the internet, this is because you can limit the service to only be accessed from inside the Google Cloud project network.
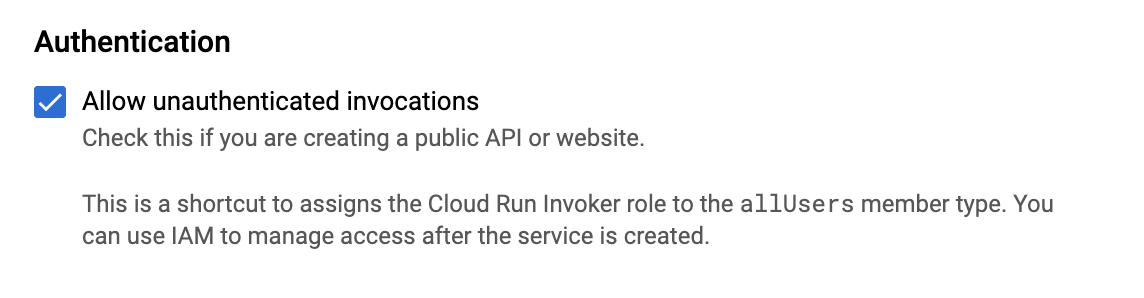
And then click "CREATE".
Then you should see that it is creating
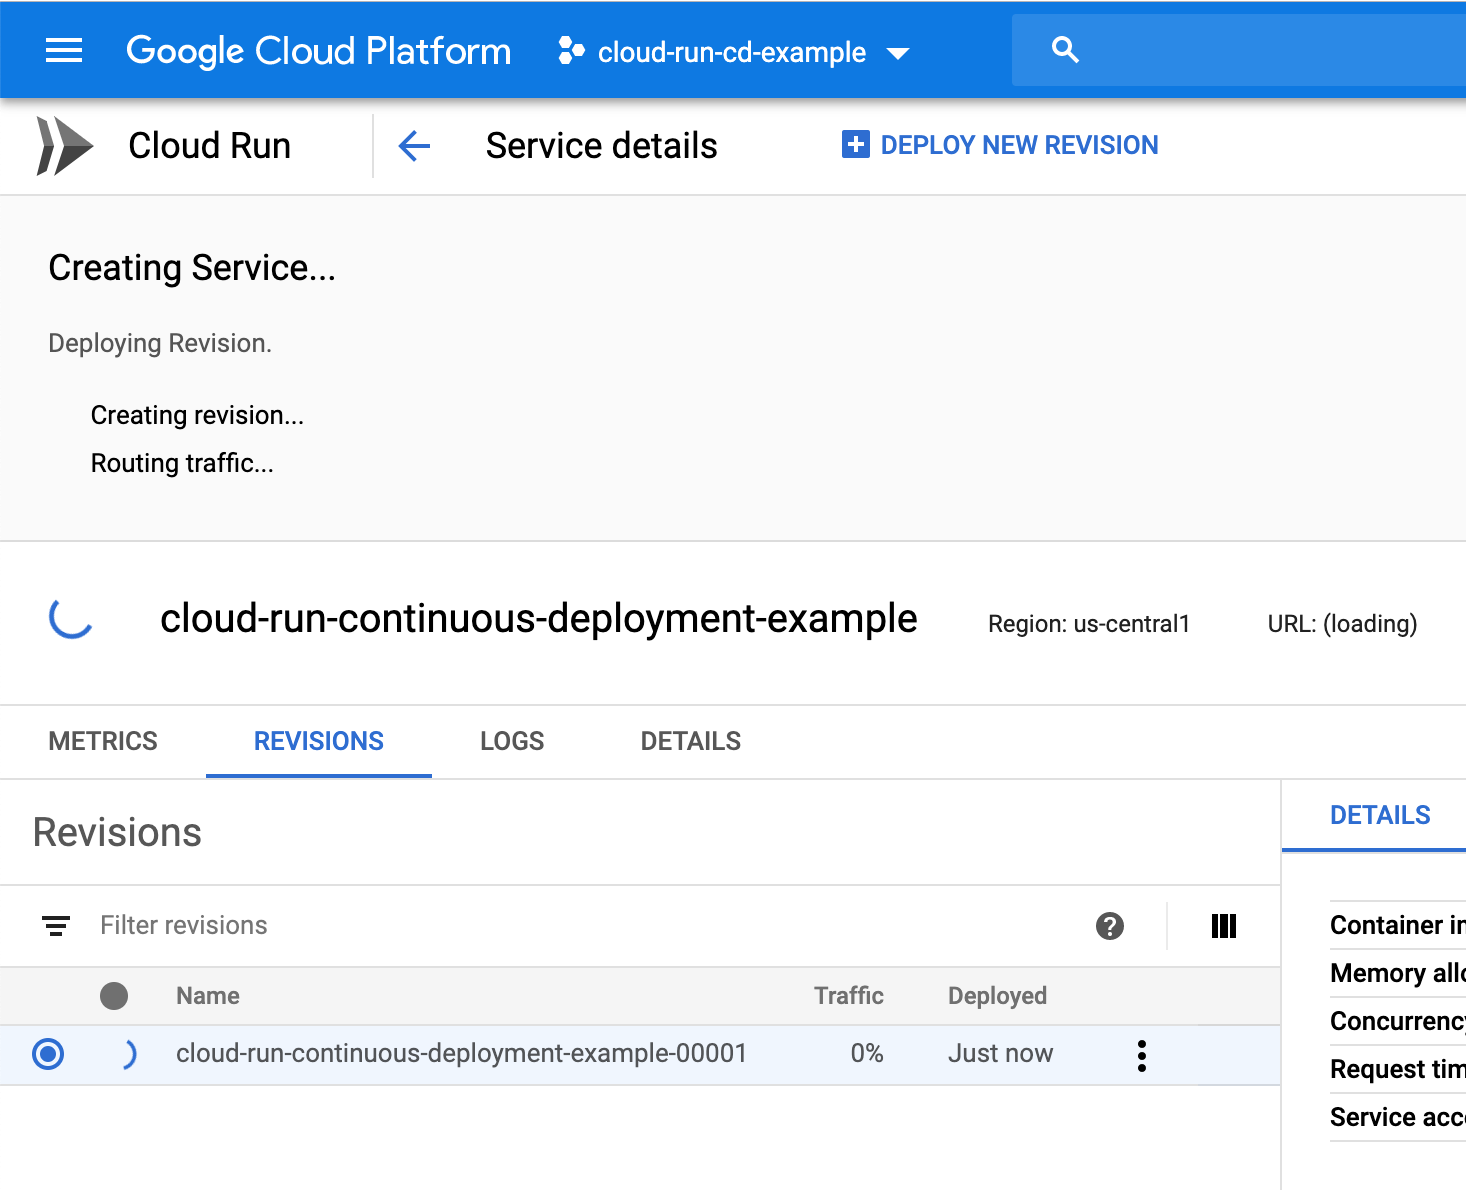
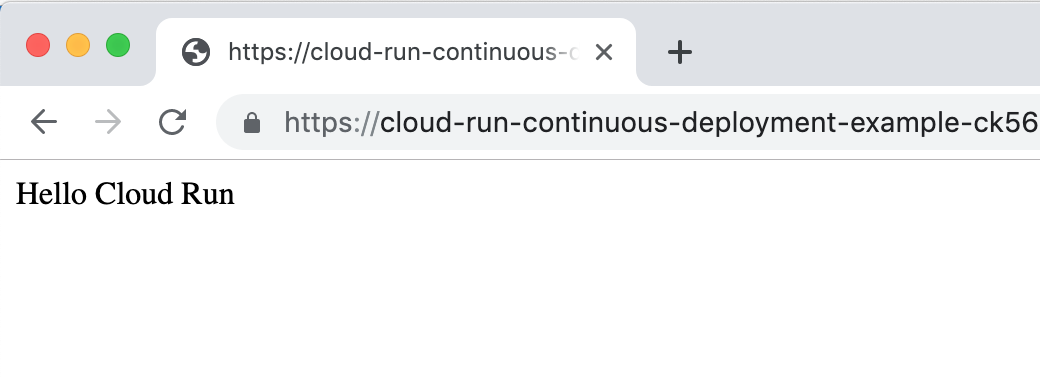
and after 1-2 minute a URL will show up for your new Cloud Run service.
https://cloud-run-continuous-deployment-example-ck56oxnv5q-uc.a.run.app/
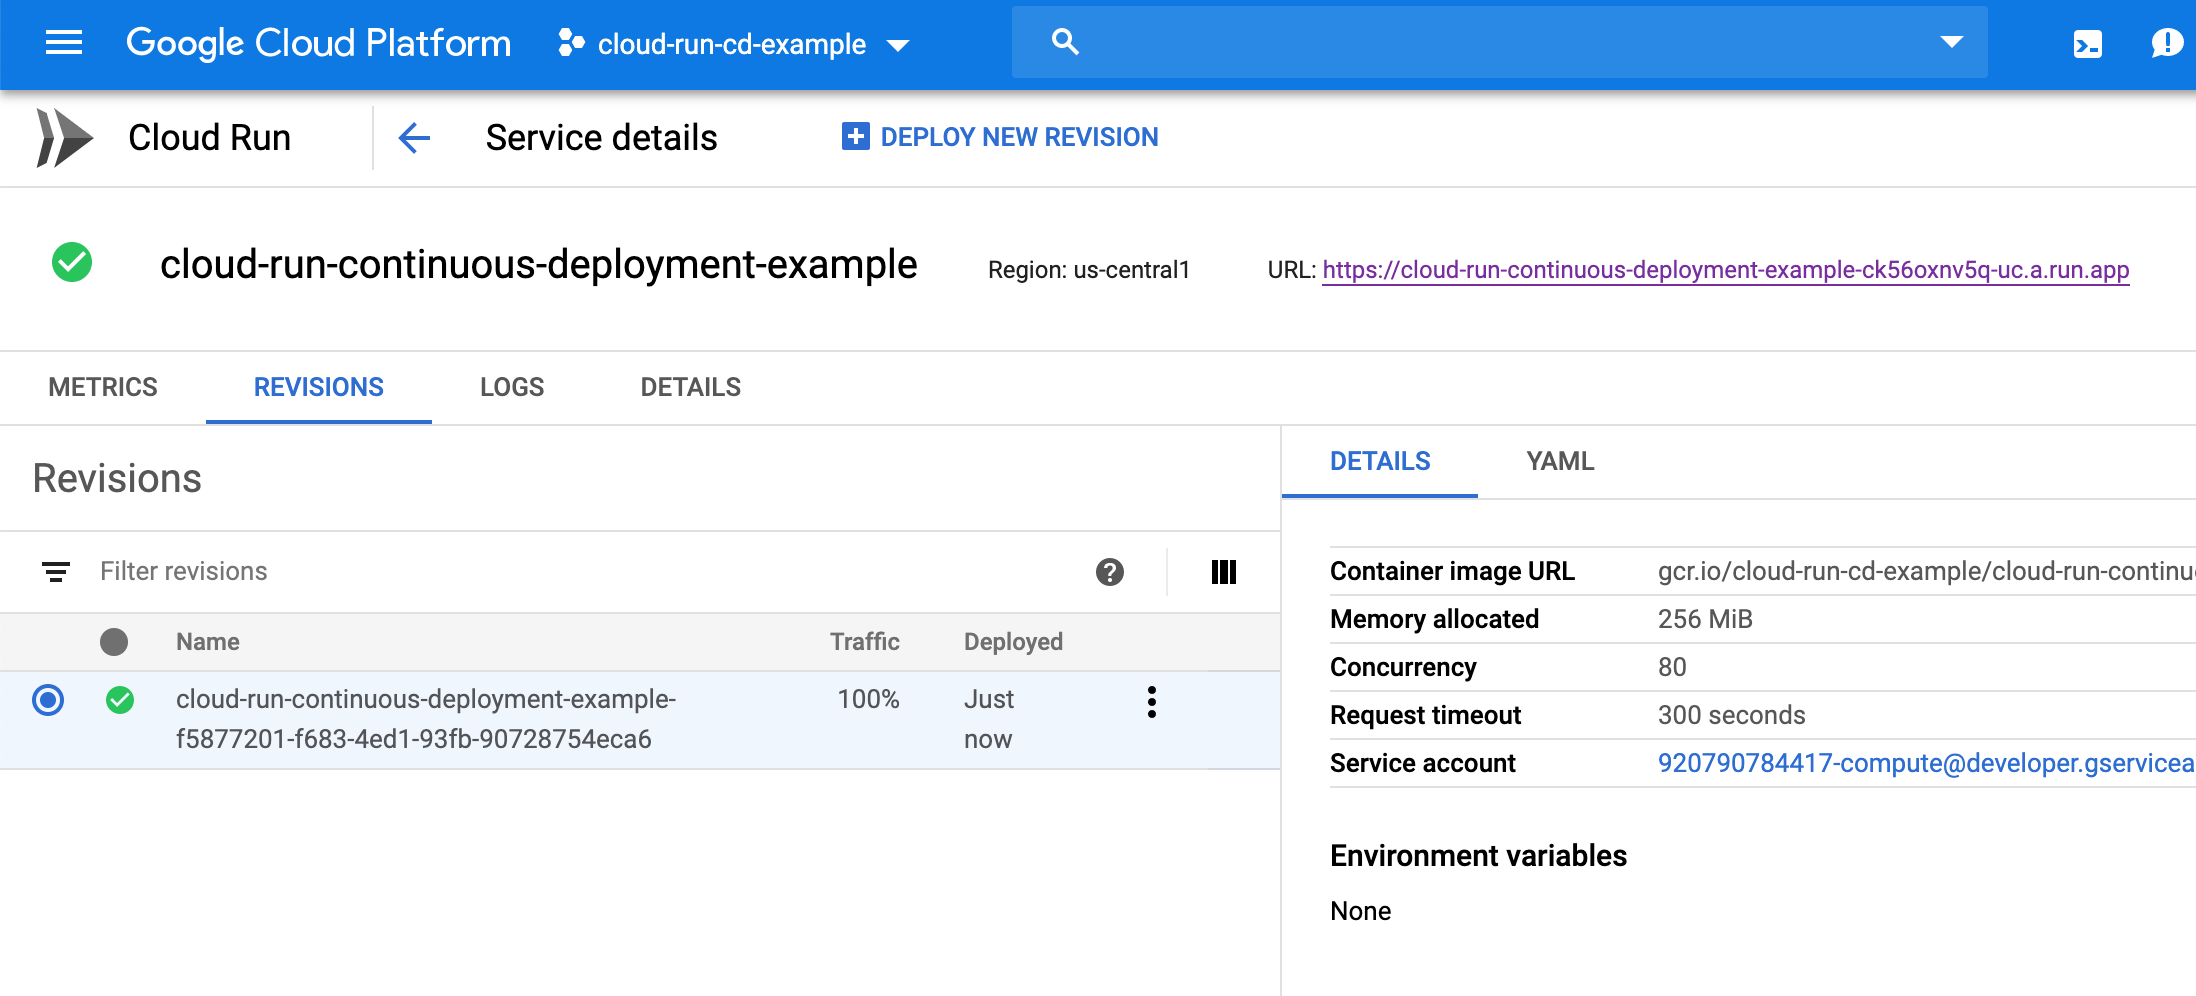
This is pretty awesome, we build an app with docker, uploaded it to github, built it on Google Cloud with Cloud Build and now launched it with Cloud Run. All in a fairly short time and we will only pay whenever it runs, so no big monthly fees for something that you only use a couple of times. Pay for what you use.
Deploy a new version manually
So now when you push to github it will build a new docker image on Cloud Build. When that is done, you can either copy the docker image address or use the same dropdown to select the newest Docker image.
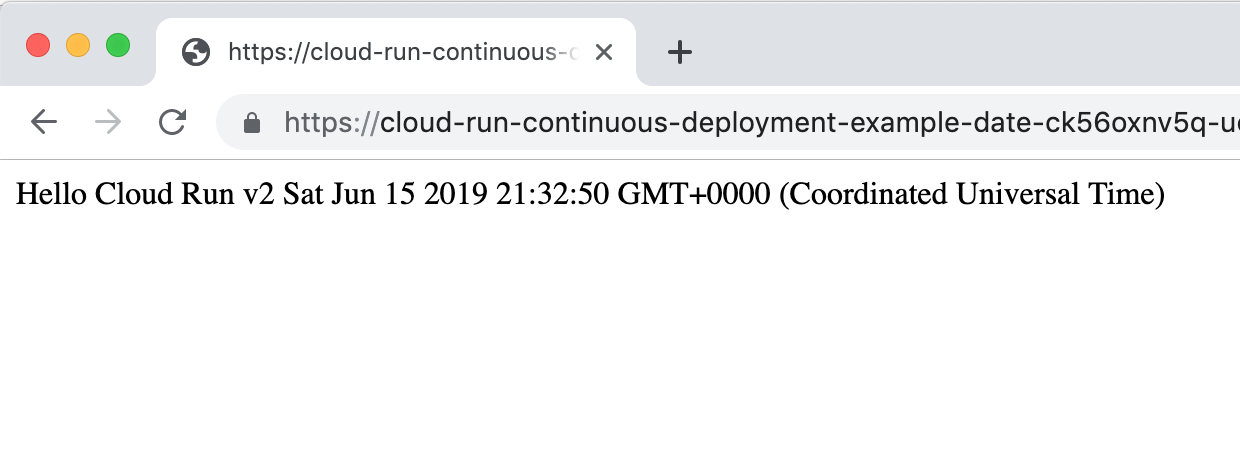
Try updating the res.send function to
res.end('Hello Cloud Run v2 ' + new Date() )
and commit and push it to Github.com
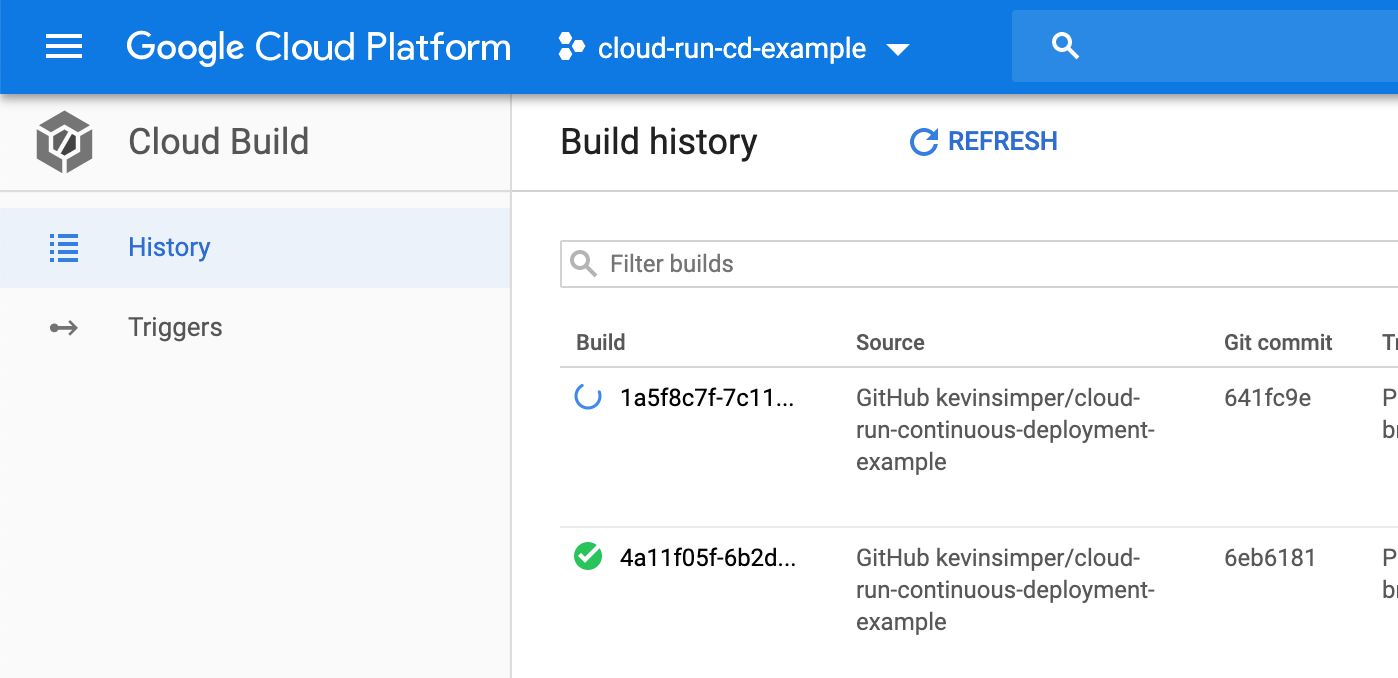
Check out Cloud Build again:
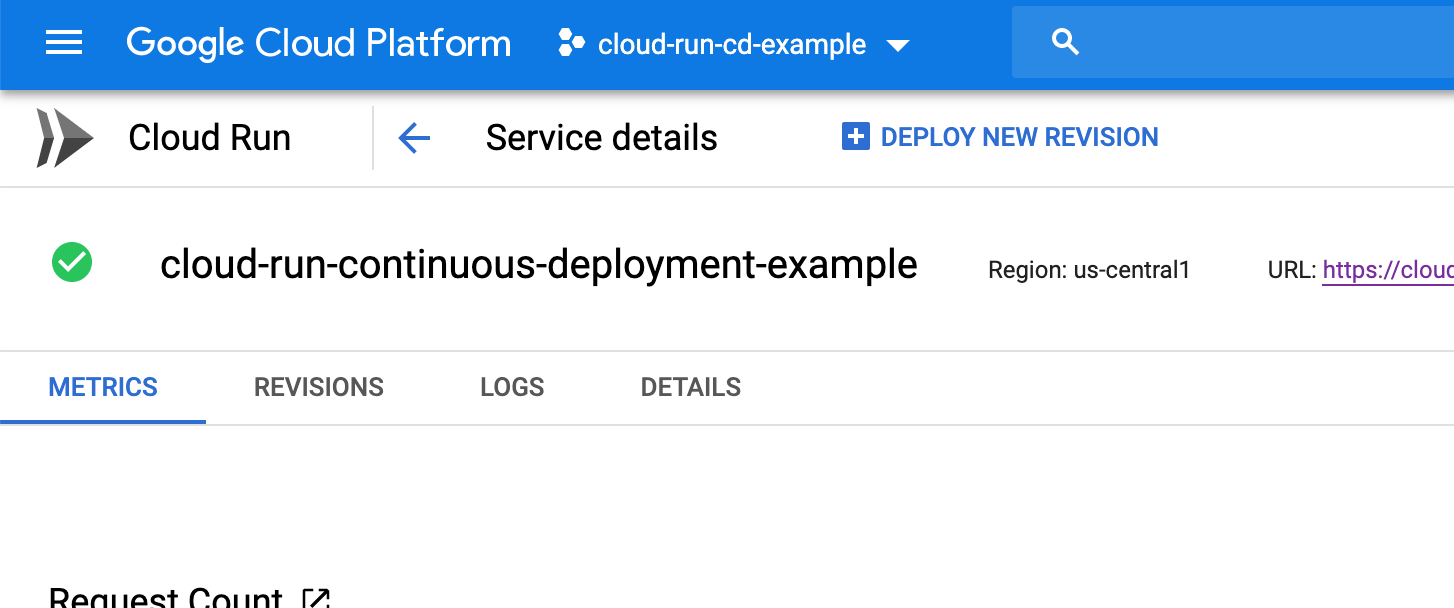
Click "Deploy new revision"
And now "Select" or paste the new Google Cloud Registry image.
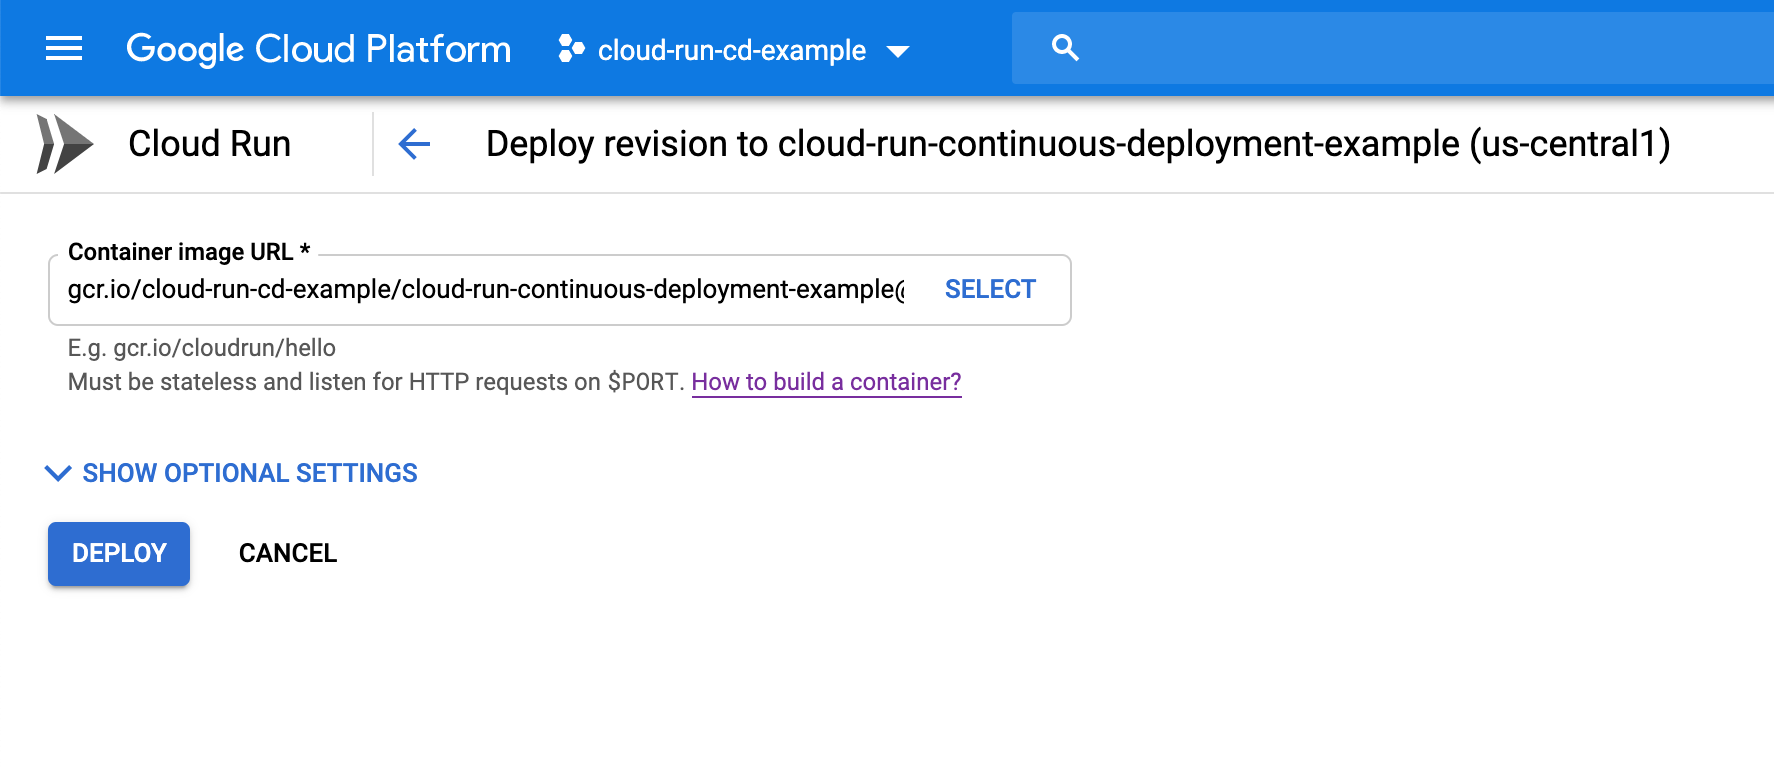
and click "Deploy"
https://cloud-run-continuous-deployment-example-date-ck56oxnv5q-uc.a.run.app/
Deploying automatically with Cloud Build
We have now gone through and done all the steps manually. That is important so that we know what we want to automate, but also that we know the steps will work already, super important in devops automation work.
We used CloudBuild with the default setting, that is that it builds the Docker image that it finds in the repo. Now we need it to do three things, build the docker image, push it, and deploy it to Cloud Run. Those steps we need to define in a stepfile called cloudbuild.yaml
Defining build steps in cloudbuild.yaml
We will create a file called cloudbuild.yaml and define the first step that it should build the Dockerfile
steps:
  - name: 'gcr.io/cloud-builders/docker'
    args:
      [
        'build',
        '-t',
        'gcr.io/cloud-run-cd-example/cloud-run-continuous-deployment-example:$SHORT_SHA',
        '.',
      ]
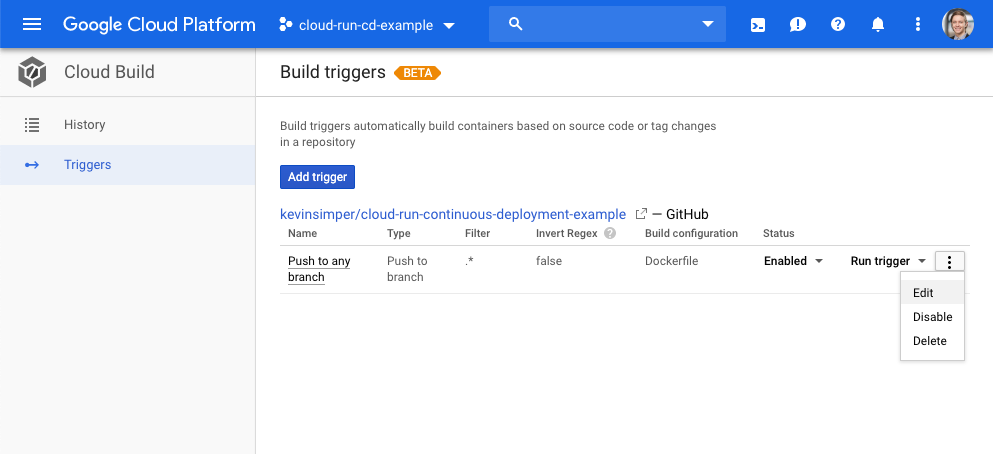
This will do the same as before, but we need to go to Cloud Build in the Google Cloud Console and click Edit under Triggers
And click the Build configuration to "Cloud Build configuration file (yaml or json)" from "Dockerfile" like this:
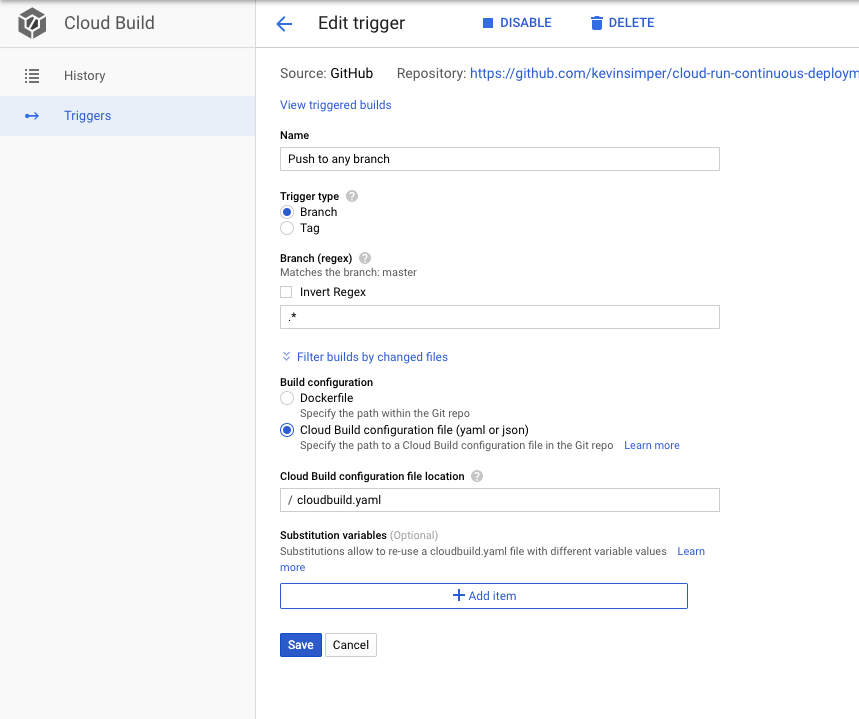
and click "Save".
After that, we commit the cloudbuild.yaml file (remember to choose the correct file ending and not .yml) and push it to GitHub like this:
https://github.com/kevinsimper/cloud-run-continuous-deployment-example/commit/efc6f965a4a7063429ba485a2632dd2d4ccdca6b
And you should see a successful build
Notice that it did not push the image at the end. Cloud Build has special config to indicate which docker images to push at the end, but we can't use that because we want to trigger a deployment and that depends on the image already being there.
Pushing the docker image
Update the cloudbuild.yaml to push the docker image manually like this:
steps:
  - name: 'gcr.io/cloud-builders/docker'
    args:
      [
        'build',
        '-t',
        'gcr.io/cloud-run-cd-example/cloud-run-continuous-deployment-example:$SHORT_SHA',
        '.',
      ]
  - name: 'gcr.io/cloud-builders/docker'
    args:
      [
        'push',
        'gcr.io/cloud-run-cd-example/cloud-run-continuous-deployment-example:$SHORT_SHA',
      ]
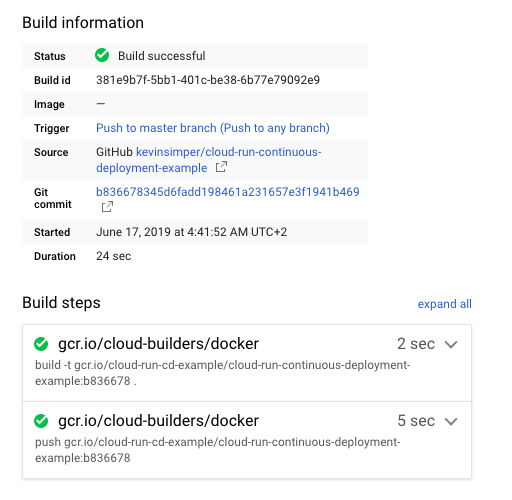
And push that to GitHub
https://github.com/kevinsimper/cloud-run-continuous-deployment-example/commit/b836678345d6fadd198461a231657e3f1941b469
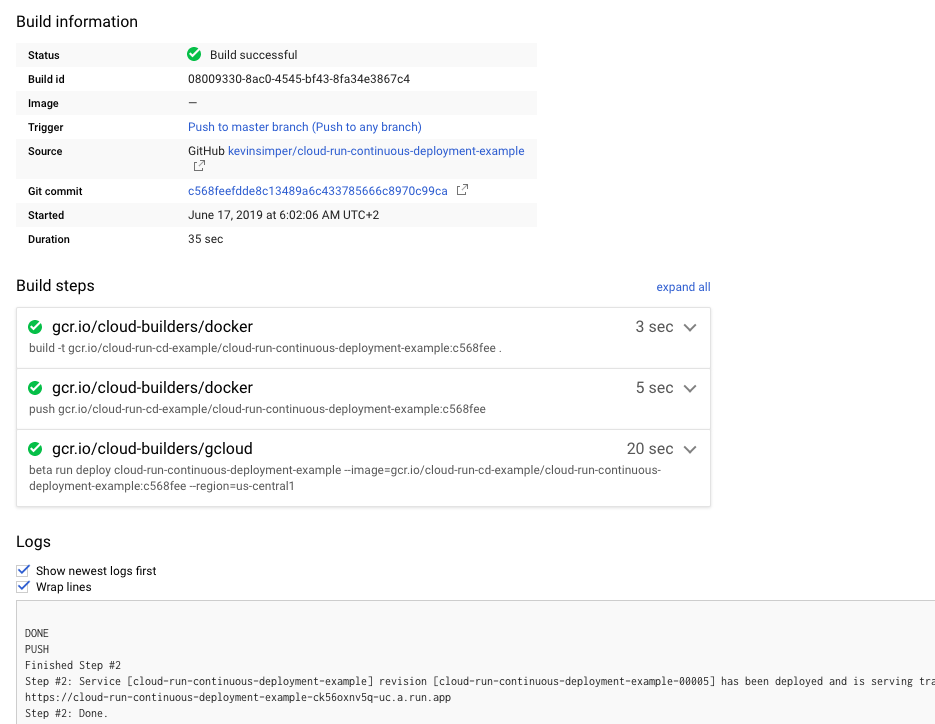
And again check that it works. You can now see two build steps:
Add the final step, deploying with the gcloud cli
This we haven't done before until now we have done everything through the interface and that has been great, but let us try to deploy with the gcloud cli.
First, you need to install it from the website (or through a package manager like brew.sh):
https://cloud.google.com/sdk/
Click install and follow the instructions.
Or with https://brew.sh run
$ brew cask install google-cloud-sdk
You will in either case run gcloud init which will authenticate you and give you access to your projects.
Running gcloud and deploy cloud run
The first command you should run is to check to see if you can get a list of your currently deployed Cloud Run services. You should see exactly one in the new project you created.
$ gcloud beta run services list
If you don't you can change the project by running
$ gcloud projects list
$ gcloud config set project ##PROJECT_ID FROM THE COMMAND JUST BEFORE
(Protip: You can also use my easy project switcher I built: https://www.npmjs.com/package/gcphelp)
Cool, here is the output of me running the gcloud beta run services list
$ gcloud beta run services list
   SERVICE                                       REGION       LATEST REVISION                                                               SERVING REVISION                                                              LAST DEPLOYED BY        LAST DEPLOYED AT
✔  cloud-run-continuous-deployment-example       us-central1  cloud-run-continuous-deployment-example-f5877201-f683-4ed1-93fb-90728754eca6  cloud-run-continuous-deployment-example-f5877201-f683-4ed1-93fb-90728754eca6  kevin.simper@gmail.com  2019-06-15T21:20:30.148Z
The cli produces very long lines, it can be hard to read, but you should see the name of the service "cloud-run-continuous-deployment-example". Great!
Now we can get the latest docker image that we have built on Cloud Run.
Run this command to get all your images:
$ gcloud container images list
NAME
gcr.io/cloud-run-cd-example/cloud-run-continuous-deployment-example
and then take the name of your image and run
$ gcloud container images list-tags gcr.io/cloud-run-cd-example/cloud-run-continuous-deployment-example
DIGEST        TAGS     TIMESTAMP
bb9304140380  b836678  2019-06-17T04:42:10
...
Perfect, you now have to combine your image name and tag to get the full address to the docker image, since your image can have multiple tagged versions:
gcr.io/cloud-run-cd-example/cloud-run-continuous-deployment-example:b836678
So with this docker image name and the name of our Cloud Run service, eg. cloud-run-continuous-deployment-example from above, we are ready to deploy.
Now we can deploy that image by running
$ gcloud beta run deploy cloud-run-continuous-deployment-example --image=gcr.io/cloud-run-cd-example/cloud-run-continuous-deployment-example:b836678 --region=us-central1
and the output should look like this
Deploying container to Cloud Run service [cloud-run-continuous-deployment-example] in project [cloud-run-cd-example] region [us-central1]
✓ Deploying... Done.
  ✓ Creating Revision...
  ✓ Routing traffic...
Done.
Service [cloud-run-continuous-deployment-example] revision [cloud-run-continuous-deployment-example-00002] has been deployed and is serving traffic at https://cloud-run-continuous-deployment-example-ck56oxnv5q-uc.a.run.app
We deployed our service manually with the terminal, great job!
Now we can automate that!
Add gcloud command to cloud build
Google has made a long run of "base" images that you can run on Cloud Build, they are also just Docker images, but it makes it easy for everyone not having to manually setup for example the gcloud sdk that we need now.
https://cloud.google.com/cloud-build/docs/cloud-builders
We can now add it as the third step in our cloudbuild.yaml
steps:
  - name: 'gcr.io/cloud-builders/docker'
    args:
      [
        'build',
        '-t',
        'gcr.io/cloud-run-cd-example/cloud-run-continuous-deployment-example:$SHORT_SHA',
        '.',
      ]
  - name: 'gcr.io/cloud-builders/docker'
    args:
      [
        'push',
        'gcr.io/cloud-run-cd-example/cloud-run-continuous-deployment-example:$SHORT_SHA',
      ]
  - name: 'gcr.io/cloud-builders/gcloud'
    args:
      [
        'beta',
        'run',
        'deploy',
        'cloud-run-continuous-deployment-example',
        '--image=gcr.io/cloud-run-cd-example/cloud-run-continuous-deployment-example:$SHORT_SHA',
        '--region=us-central1',
      ]
So now Cloud Build will run a container that has the gcloud sdk cli and it will execute the same command that we ran just earlier, but notice how we used the $SHORT_SHA template variable, that one will be updated for each build. That is how we will deploy the newest version after it has been built always automatically.
Now we can commit that and push it to GitHub.
Permission denied on Cloud Build
If you have followed along and done everything you will have noticed that our last build has failed! That is annoying, but an important step to debug what went wrong and talk about why, we are missing one last thing to do before it will work.
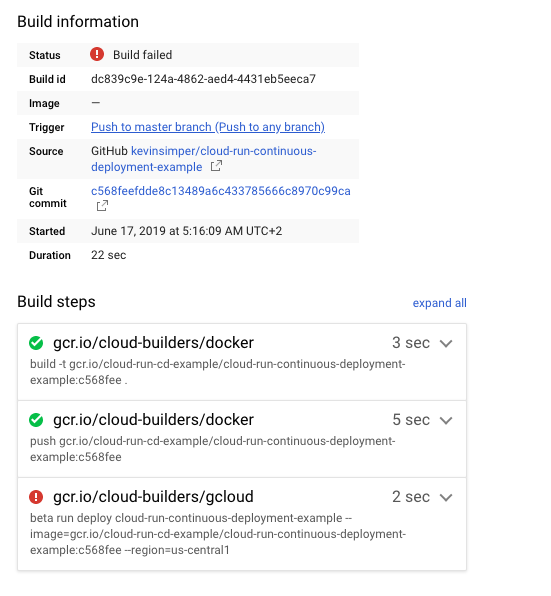
You can see it is the last step that fails, the one we just added, and we can look in the logs and see:
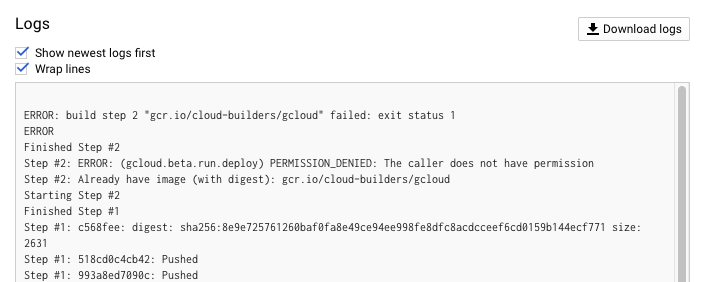
We got a "PERMISSION_DENIED: The caller does not have permission".
That is because everyone does not have access to deploy our service. We need to give access to everyone that needs that permission.
Cloud Build does have a user when it runs these builds and the solutions are that we can give Cloud Build access to deploy our Cloud Run service. That is done through IAM roles, everything in Cloud Providers are done through some kind of IAM, which stands for Identity and Access Management. It sounds complicated, but it is not something to be afraid of and it is something you can learn step by step.
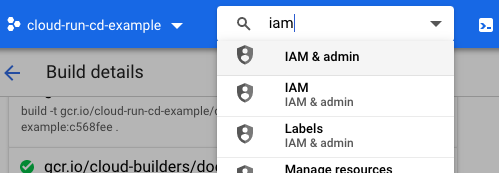
First, we need to navigate to IAM, search for it:
Here you will find the stock Service Accounts, and this is also here when you Activate an API like Cloud Build or Cloud Run, a new service account will be added.
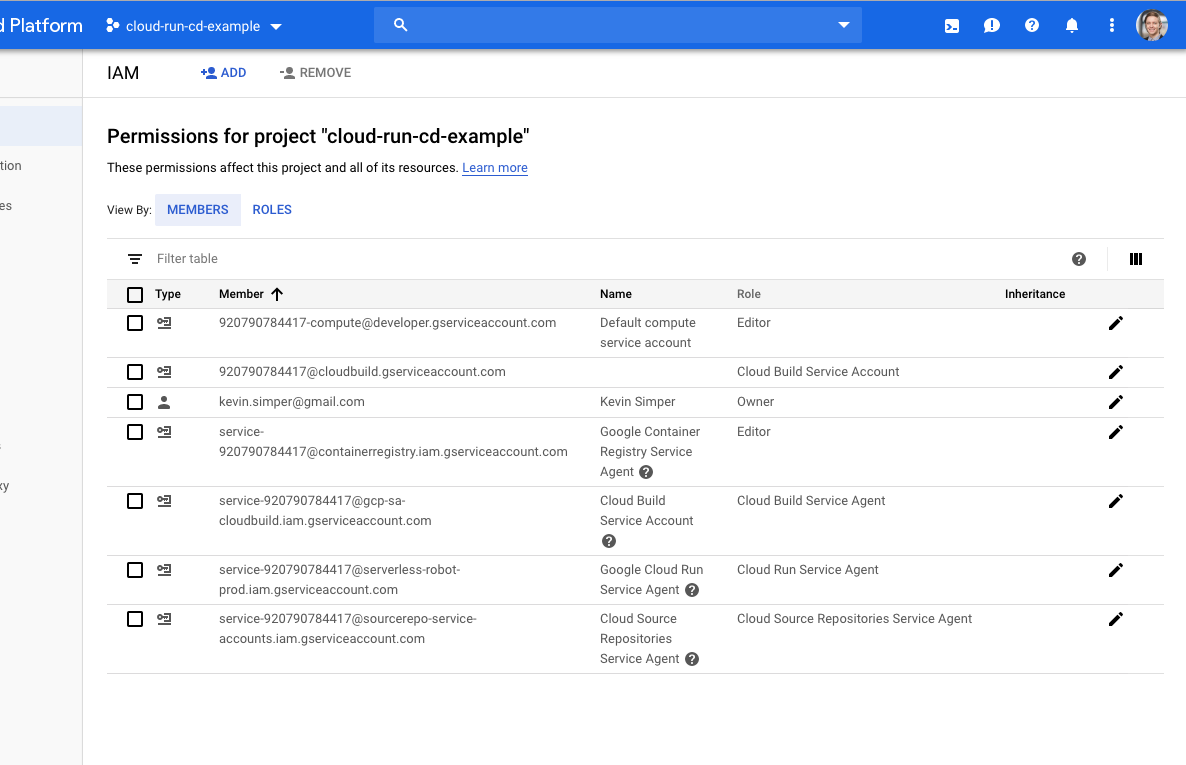
Look for the Member called "Cloud Build Service Account", number 2 in my list and click the Edit icon. The one that has the email that ends with @cloudbuild.gserviceaccount.com

And out will a sidebar show up:
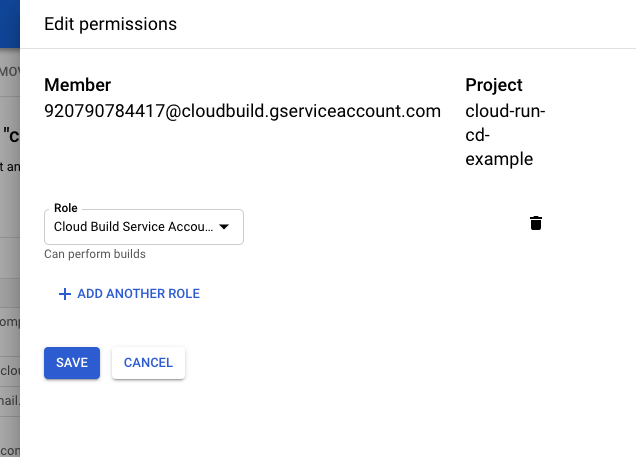
We need to give the Cloud Build Service Account another 2 Roles, so there will be 3 in total with the "Cloud Build Service Account".
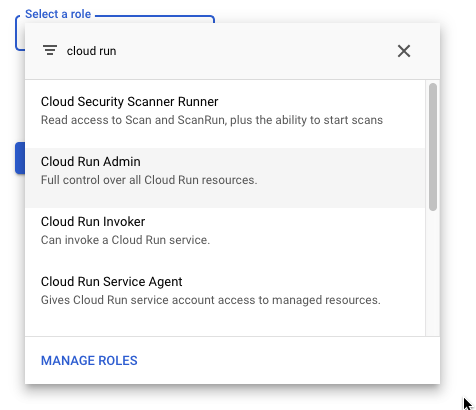
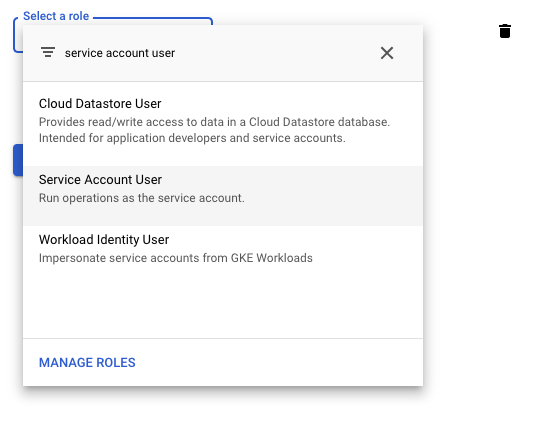
Click "Add Another Role" and search for "cloud run". We need to choose the "Cloud Run Admin"
Click again "Add another role" and search for "service account user". This one is needed because by default the Cloud Build agent is not allowed to perform actions as other service accounts, that it needs this permission for.
And we can click "Save" and see the new permission get added. Confirm it by looking in the table:

And now Cloud Build has the permission to run our Cloud Run deploy.
Go back to Cloud Build and manually trigger a build from master.
And yeah, this one succeeded! This ways maybe your first interaction with IAM roles, and it could seem complicated, but it is good because by default everything does not have access to everything and you are always in control.
You can now make changes to your Github repo and see them deployed really quickly.
(For improving security as your project grows, you can create new Service Accounts that only have the specific access controls, so that only your cloudbuild.yaml has access to deploy the function.)
Conclusion - a what to do next
Cloud Run is an amazing service, it imposes very few limits on what you can deploy and how you have to shape your app, and with Cloud Build you can run builds easily and get started for free.
However, combining them is not easy and could be improved to be more user-friendly. You could use a tool to automate these steps, but you would have to give the tool admin rights and in a new project that is maybe something you would trust, but in a production environment you generally want to limit tools that have admin rights.
I hope you found the tutorial helpful and in cases better than the Google Cloud documentation as they can often skip the visual steps of where exactly you have to click and what the end results should look like. If you have any questions you are very much welcome to reach out or create an issue in the github repo for this tutorial.
I want to also compare this to Continuously deploying with Kubernetes, which I also wrote a (much shorter) blog post about. Kubernetes is awesome and in fact Cloud Run is built on top of Kubernetes with two frameworks called Istio and KNative, and the cool thing is that Google Cloud runs all this behind the scenes. The nice thing is that if you wanted to could run all this on your laptop, kubernetes and all, and is pretty mindblowing!
What I would do next is mapping a custom domain to my Cloud Run. After that, I would learn how to deploy secrets with Cloud Build and KMS and finally, I would learn how to configure Cloud Run with Cloud SQL to enable you to build apps super fast.
https://github.com/kevinsimper/cloud-run-continuous-deployment-example
Make something awesome 😄